Snow Blow Cannon disassembly and cleaning guide
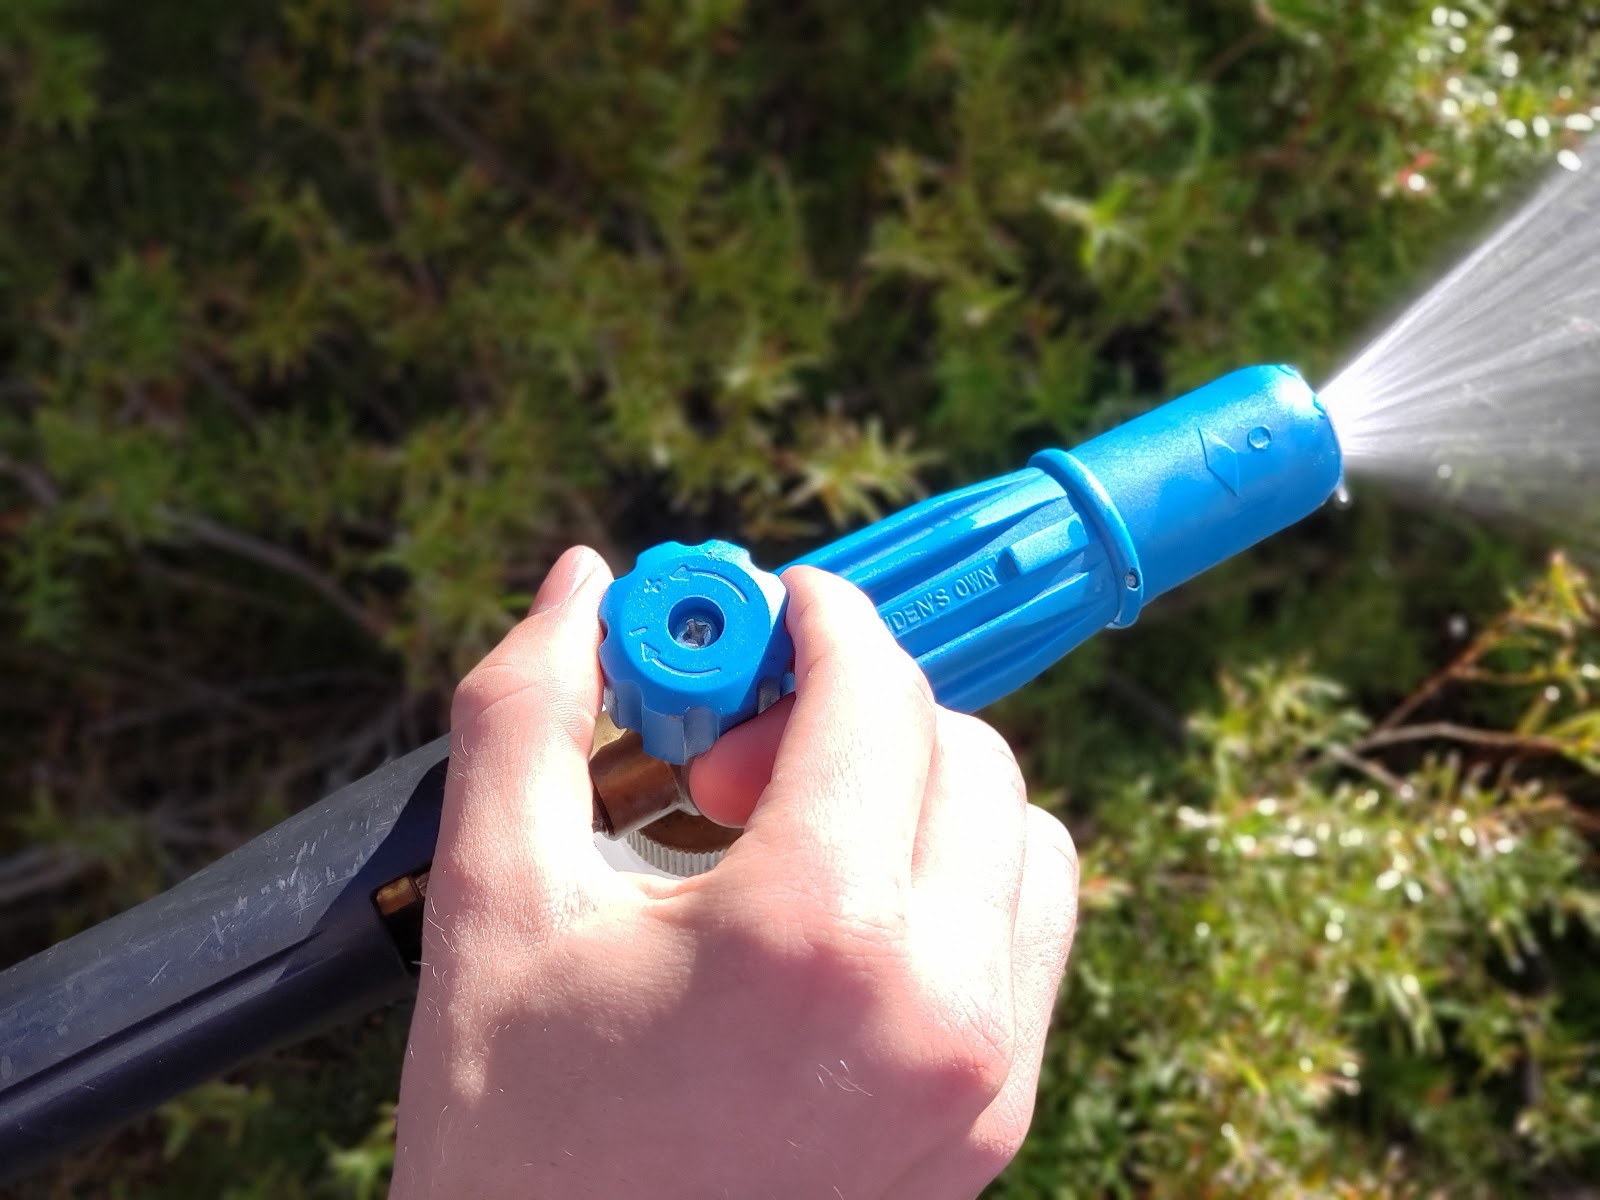
A beautiful, thick foam is one of the favourite features of our Snow Blow Cannon, and proper maintenance is an important part of keeping the cannon working correctly. This article and video will guide you through the troubleshooting, cleaning and diassembly of the Snow Blow Cannon. We are using an old, well loved (used) cannon for this demonstration.
Regular maintenance
We have found that the best way to keep the Snow Blow Cannon working its best is to carry out simple maintenance procedures.
Fresh water flush
After you have used your cannon, run clean water through the cannon for 15-20 seconds, which will help flush out any debris which could cause a blockage. Turn the adjustment knob all the way to the + side, or put 200ml of fresh water into the cannon bottle.
Orange Agent flush
Our Orange Agent all purpose cleaner is great for deep cleaning the internals of the cannon.
Mix 100ml of Orange Agent with 100ml of water into the cannon bottle, and spray this through the cannon (with the knob turned all the way to the - side) until the solution is gone. Then run another 200ml of fresh water through the cannon to flush out the internals.

Diagnosing the problem
The varying quality of water sources used across the country can cause blockages in key points of the cannon. We have found that mineral build up, organic matter (like leaf fragments), excessive thread tape, and dirt (don’t drop the cannon into the mud) can build up inside the cannon. This debris will usually find itself in three locations. The breather hole for the cannon bottle, the intake hole that sucks the soap solution up into the cannon, and the venturi nut that is vital for the water to flow properly through the cannon.
Our cannons also contain a small mesh filter/aerator that mixes the Snow Job solution with water and air to create the amazing thick foam. Over time, these aerators can become clogged with debris and cause poor foaming and low pressure output.
You can normally determine which pieces are causing the problem by observing how the cannon is operating.
Common issues
Watery/bubbly foam:
- Usually caused by a clogged aerator.
Low pressure/weak water output, or water dribbling out the nozzle:
- Usually caused by a clogged venturi, or clogged aerator.
No foam output, the cannon is only spraying clean water:
- Usually caused by a blocked intake hole, or breather hole. Can also be caused by the plastic tube not being connected to the cannon.
Fortunately, these issues are usually rectified with a quick clean out of the blocked components, using a paperclip or something similar.
First things to try
Unblocking the breather hole
1. To unblock the breather hole, unscrew the Snow Blow Cannon from the snow bottle, and turn it upside down.
2. Poke a paperclip through the breather hole to ensure it’s clear of any blockages. Holding the cannon up towards the light can help you locate the breather hole.

Unblocking the intake hole
1. To unblock the intake hole, unscrew the cannon from the snow bottle, and remove the plastic tube.
2. Turn the cannon upside down, and poke a paperclip or a pin up through the brass barb, aiming for the centre of the barb which has a very small hole which can become blocked.

Unblocking the venturi
1. To access the Venturi, first unscrew the cannon adapter using a 14mm spanner or shifter.
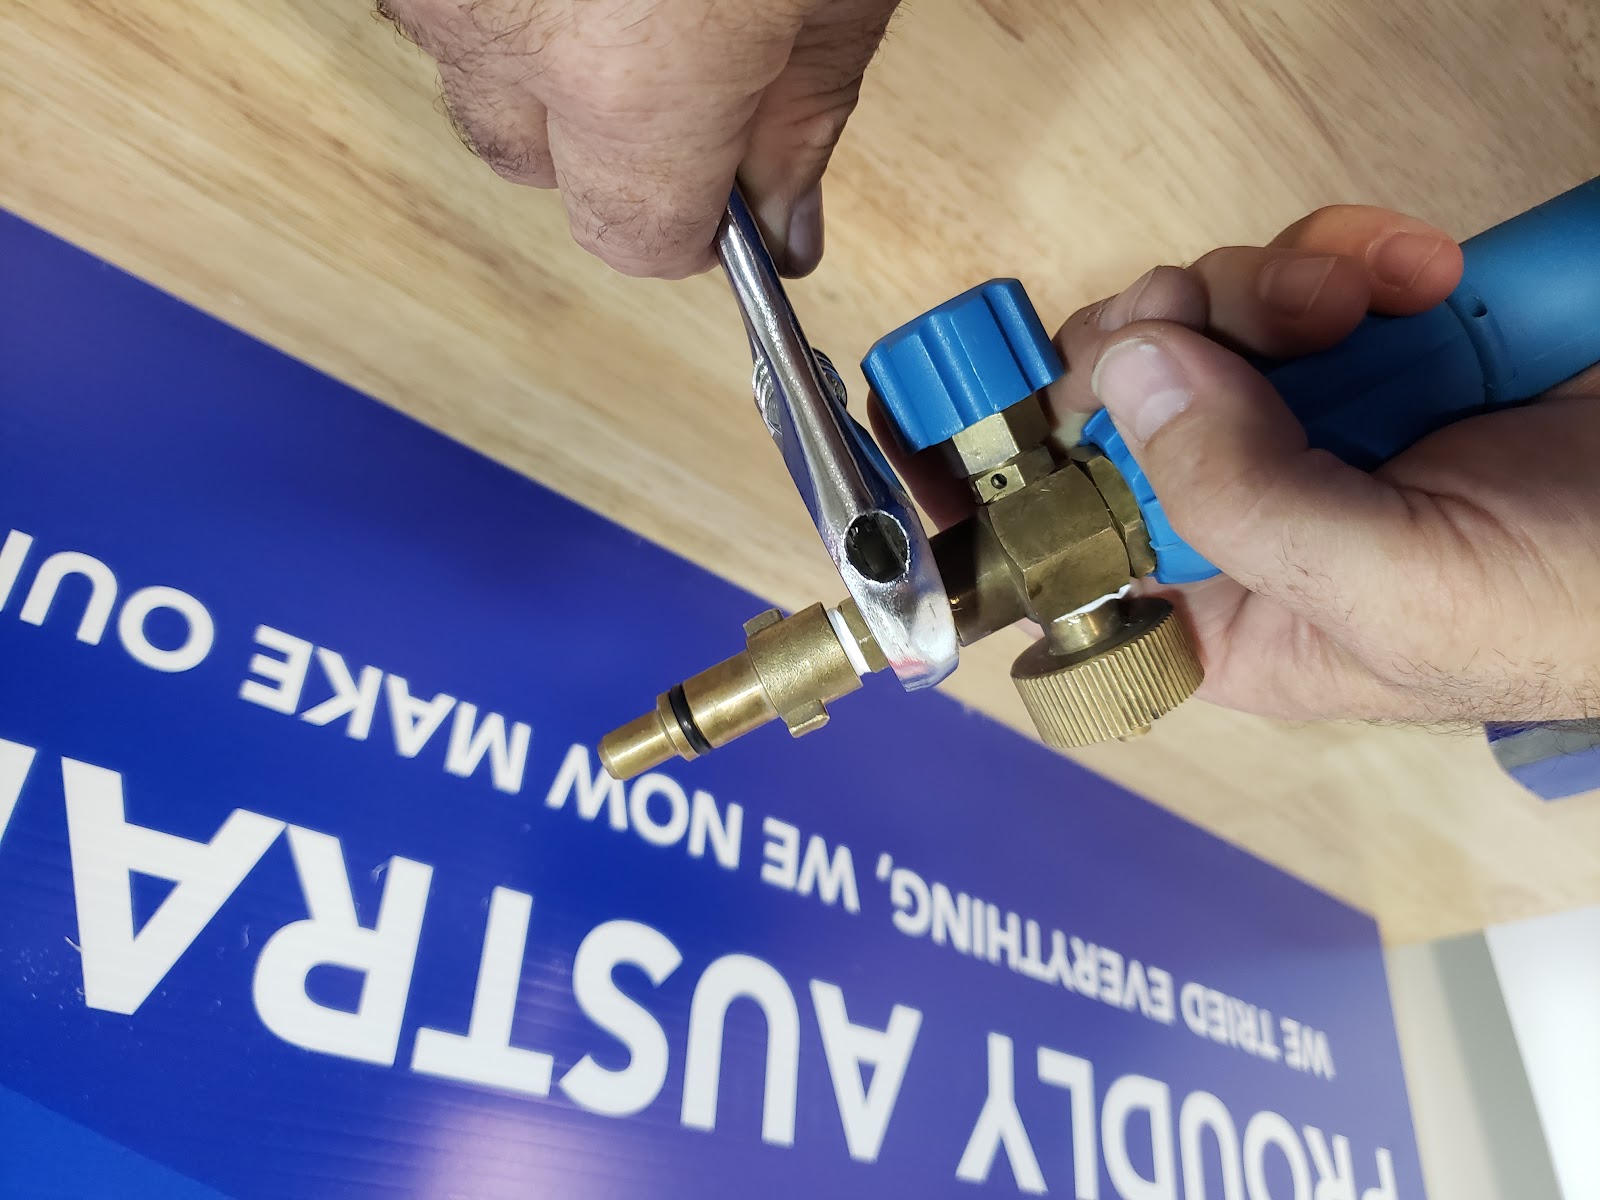
2. Poke your paperclip or pin through the central hole of the venturi, to dislodge any blockages that might be there.

Replacing the aerator
You will need some basic hand tools to replace the aerator. We recommend:
- Two shifting spanners.
- One small allen key or screwdriver.
- One pin/paperclip.
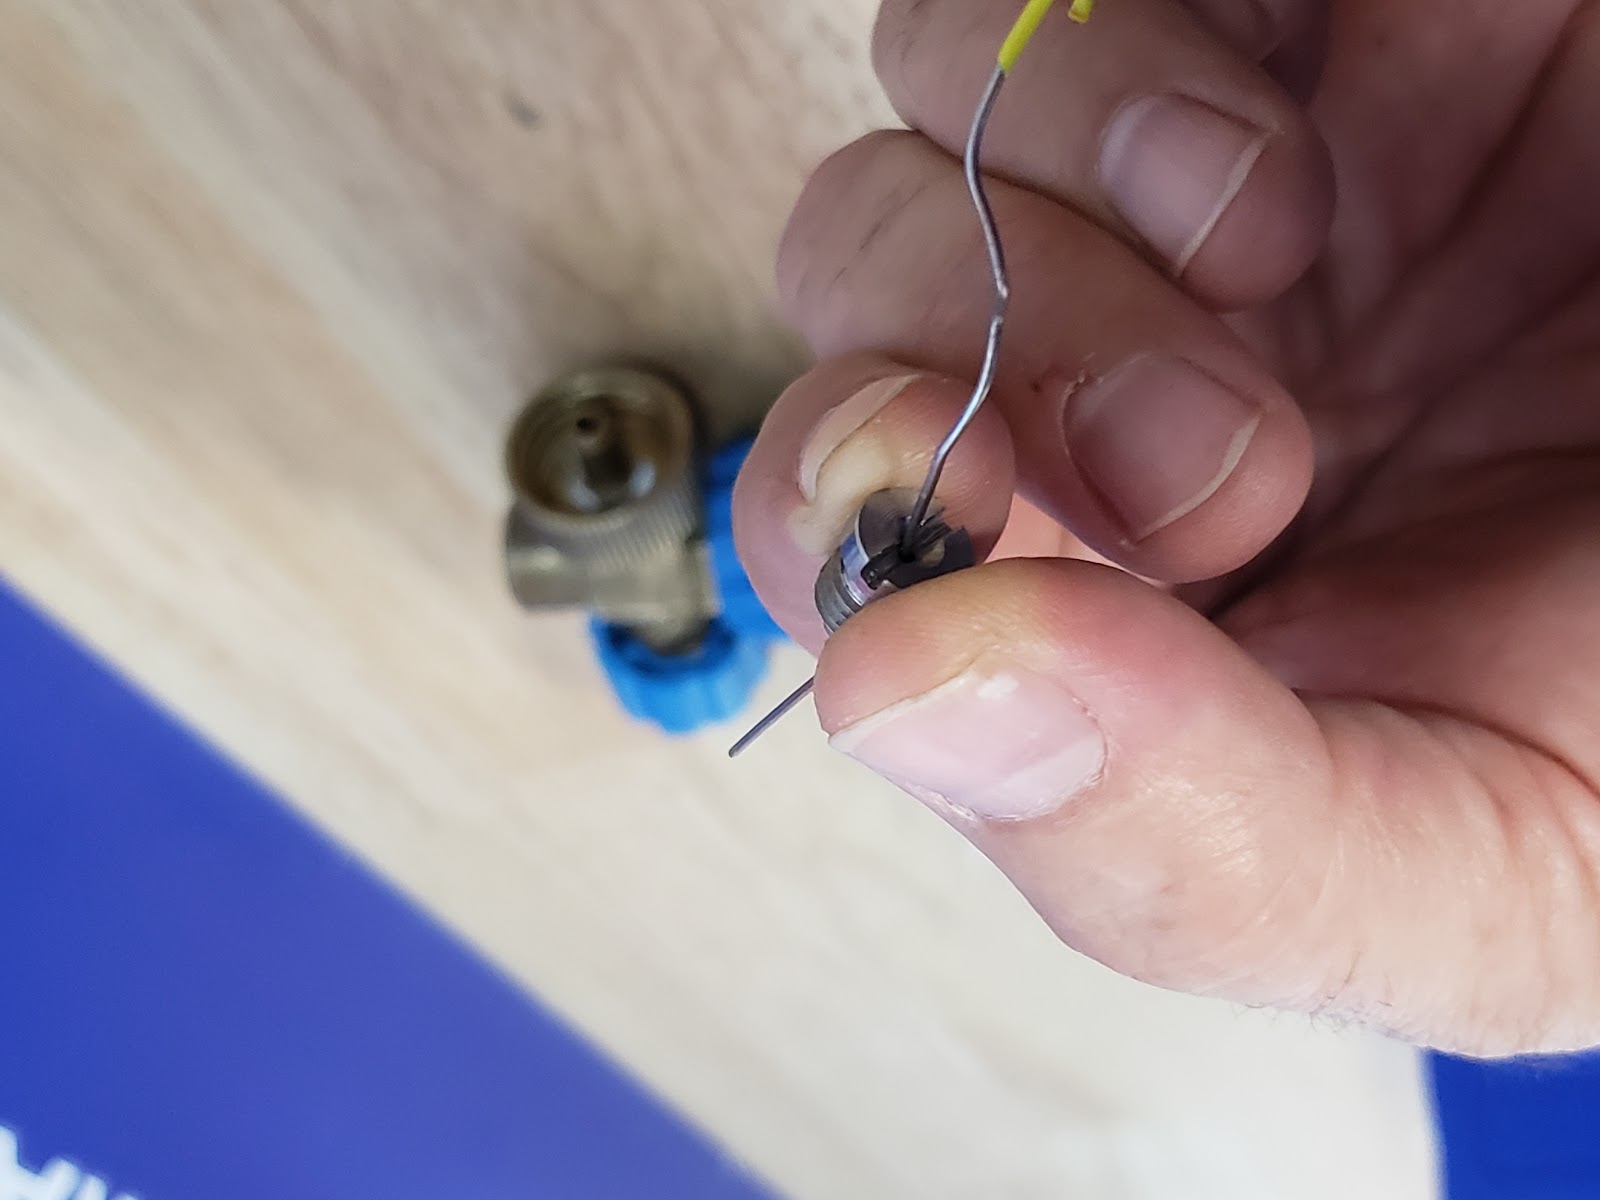
1. To access the aerator, start by pushing out the small silver pin located on the side of the front nozzle, using a small allen key or screwdriver. You will find it easier to push out from one direction, so don’t try to force it in one direction only.
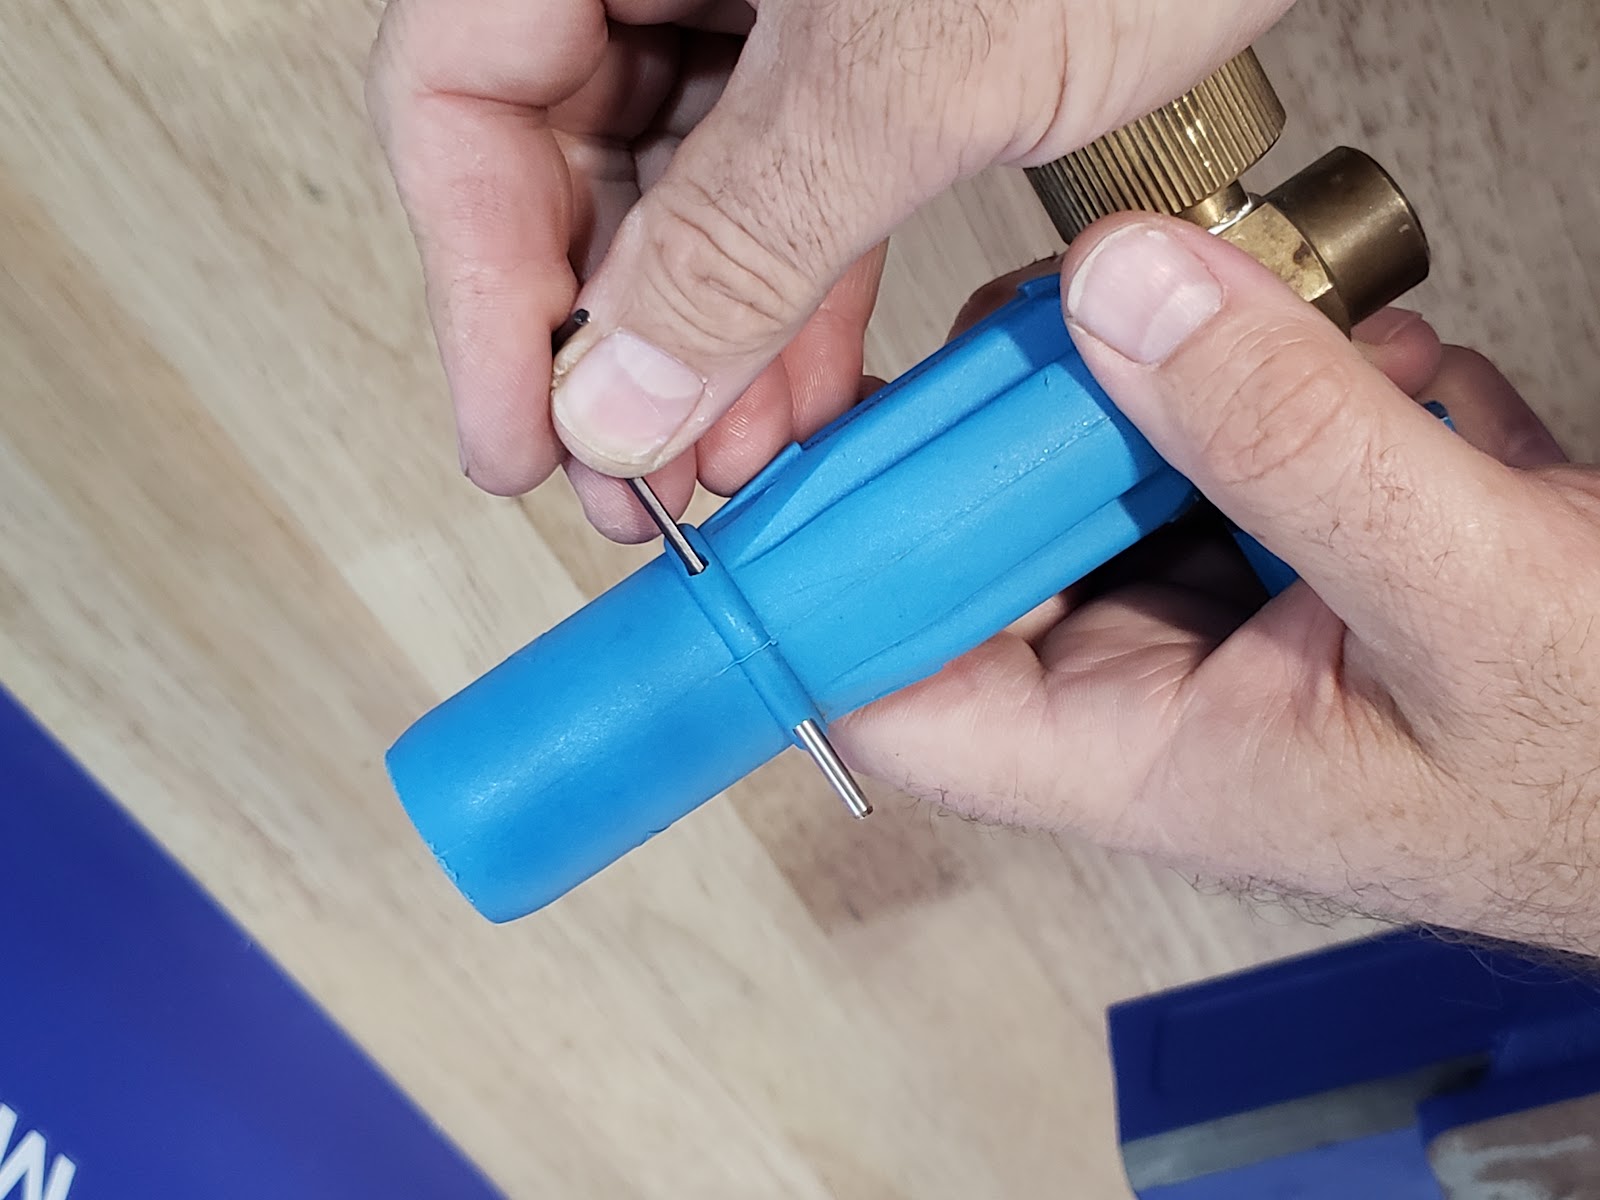

2. The blue nozzle should now slide freely off the front of the cannon.

3. Gently pinch and roll the rubber O rings on the shaft, out of the way. Grab your two spanners (22mm and 24mm) and turn them against each other to crack the seal.

4. Inside the nozzle, you will find the mesh aerator. Take a small allen key or something similar and push the aerator out from the front, it should pop out fairly easily.

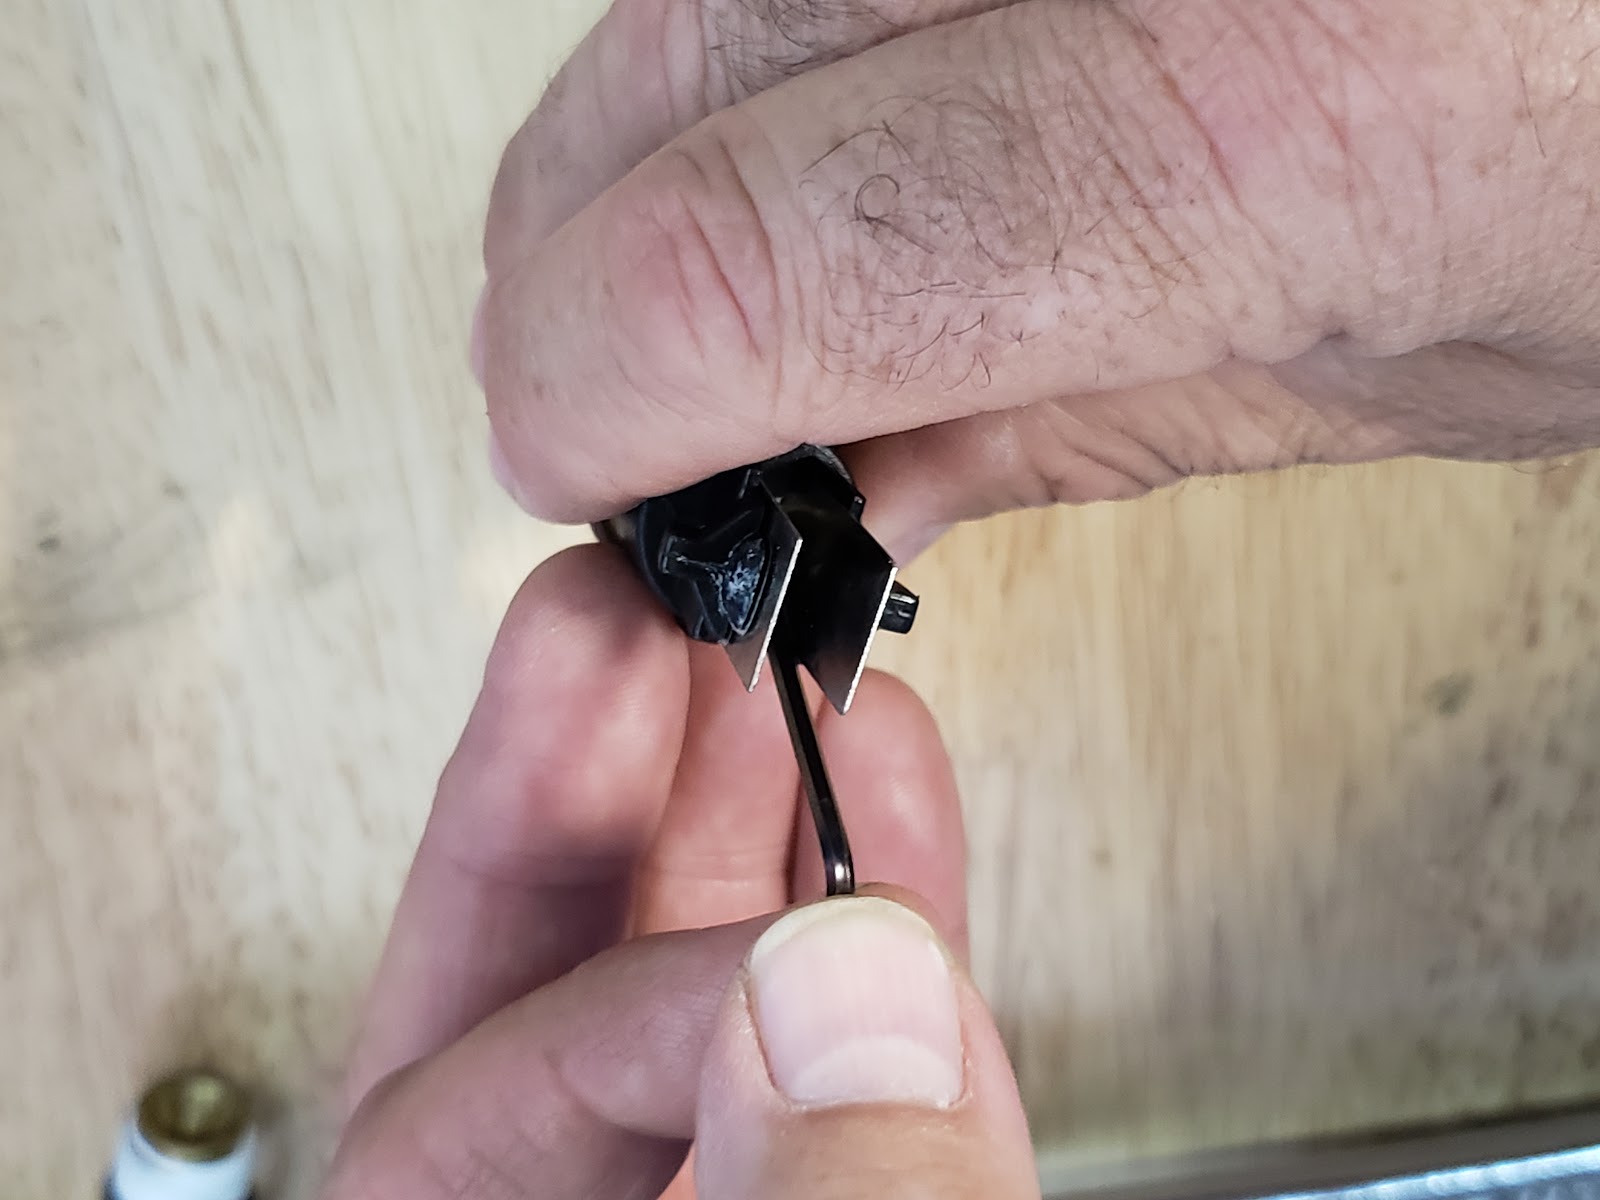
5. Inspect the aerator, if it seems to be clogged with debris or material, it will need to be replaced. Contact us via email for this - cannonservice@bowdensown.com.au. You can see a few examples of unusable aerators below.

6. Use a wire brush, or a paperclip to clean out the inside of the brass nozzle, taking special care to make sure the threads are clear of any debris. Gently slide your new aerator into the nozzle, being careful not to damage it.


7. Using a thread sealant or plumbers tape, reassemble the cannon in reverse order to how you disassembled it, being sure not to use too much tape/sealant which can cause blockages in the future.
8. Give your cannon a quick test, hopefully the beautiful thick foaming has returned! Be sure to follow the basic maintenance procedures to help keep the Snow Blow Cannon in tip top shape.
Full teardown and clean
If your cannon is still not performing properly after following these steps, the rest of this guide will take you through the full disassembly and cleaning of the Snow Blow Cannon. You will need a few basic hand tools and a little bit of mechanical sympathy. A vice is also incredibly useful, but this can be done with an extra spanner/shifter.

1. Start by removing the cannon adapter with a 14mm spanner.

2. Using a flat blade screwdriver, unscrew the lug nut (venturi) that is nested inside the main body of the cannon. Make sure to inspect this piece carefully, and poke a pin or paperclip through the hole to ensure it’s clear of debris.

3. Remove the clear plastic tube from the bottom of the cannon, and using a 10mm socket, unscrew the brass barb from the cannon.

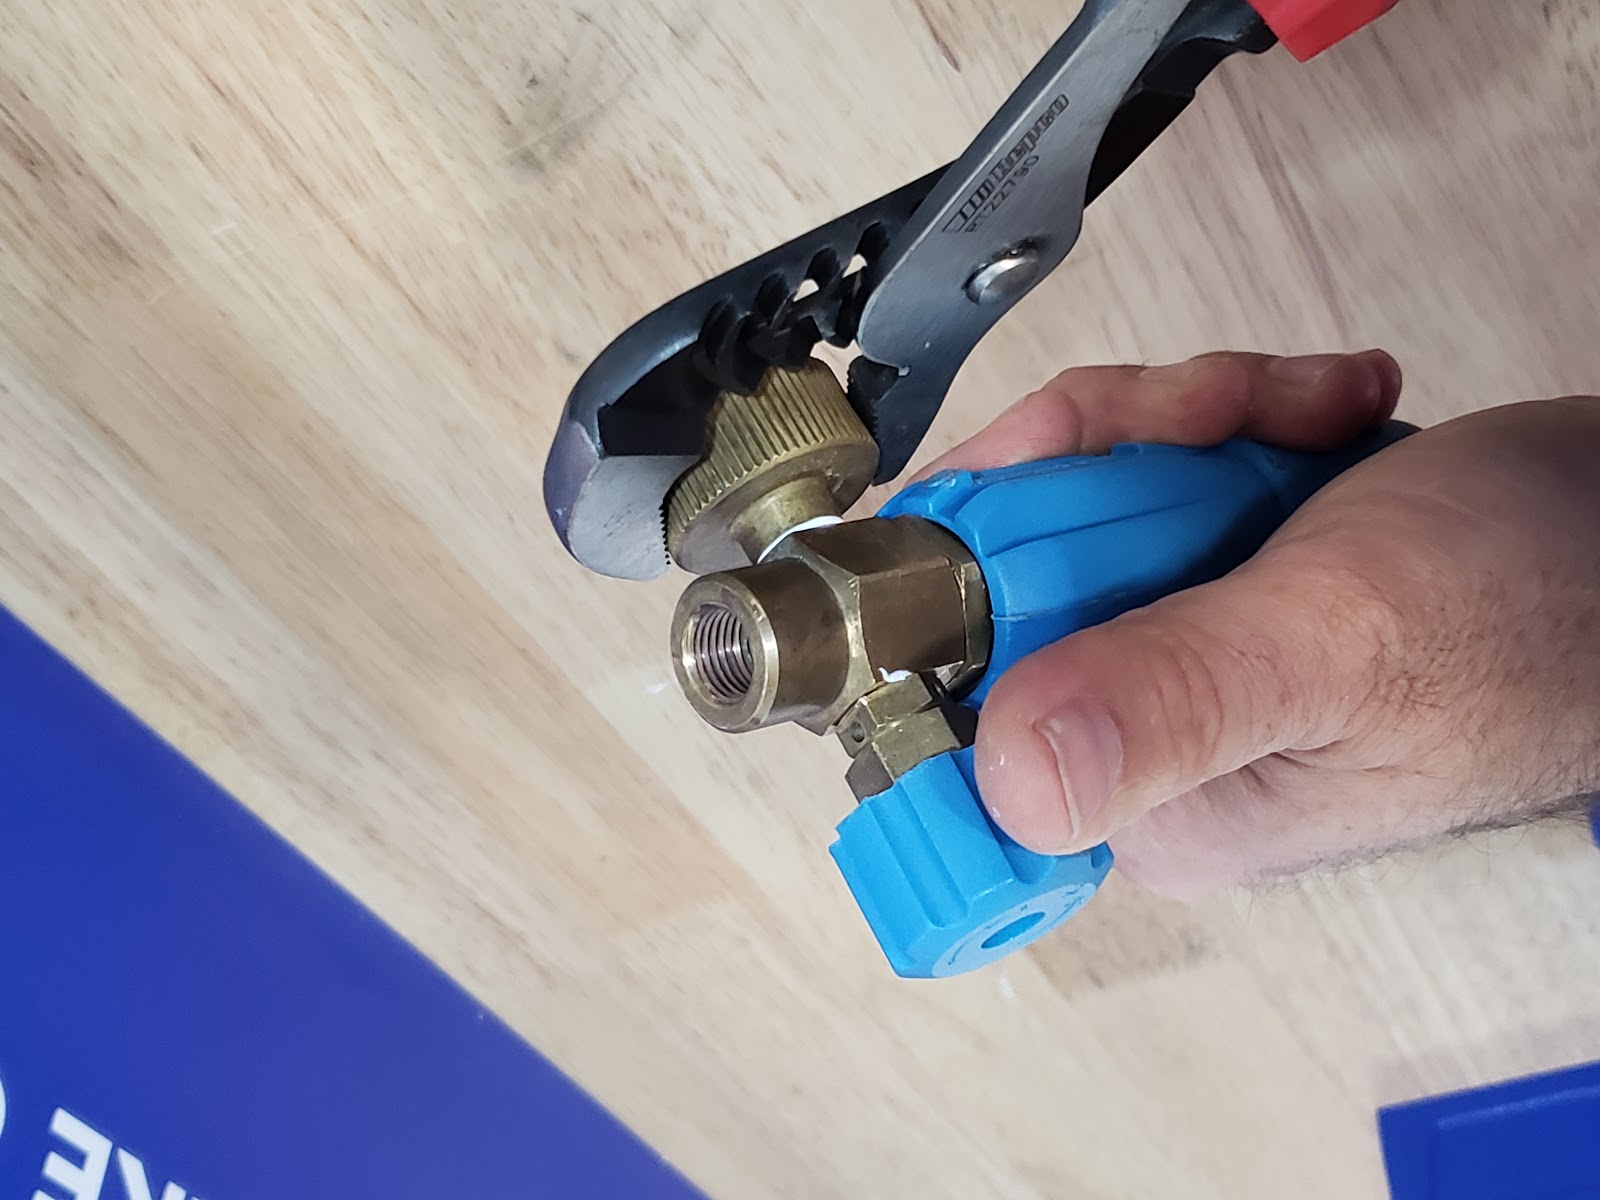
4. Unscrew the round brass piece that screws onto the cannon bottle, using a pair of pliers/grips or a vice.
5. Thoroughly Inspect these pieces, ensuring that they are clear of blockages, and poke a paperclip through the various holes to clear them. Don’t forget to clear the breather hole on the side of the larger piece.


6. Using a phillips head screwdriver, unscrew the blue knob on the top of the cannon. The blue knob and a smaller brass nut should slide off freely.


7. Unscrew the retaining nut from the cannon using a 17mm spanner.

8. Unscrew the foam adjustment piece with your fingers (or some pliers if it is tight).

9. Unscrew the final piece from the cannon body using a 14mm spanner.

10. Now, we want to remove the blue nozzle on the end of the cannon. Push out the small silver pin located on the side of the front nozzle using an Allen key or a small screwdriver. You will find it easier to push out from one direction, so don’t try to force it in one direction only.
11. Slide the blue nozzle off the cannon and put aside. Gently remove the rubber O rings on the shaft by pinching and rolling them down the shaft using your fingers.

12. Using your two spanners (22 and 24mm), unscrew the nozzle piece of the cannon.

13. Inside the nozzle, you will find the mesh aerator. Take a small allen key or something similar and push the aerator out from the front, it should pop out fairly easily.
14. Separate the main shaft from the body of the cannon using two 24mm spanners, or a vice if you have one. Crack the seal by turning the spanners against each other, and unscrew the two pieces.

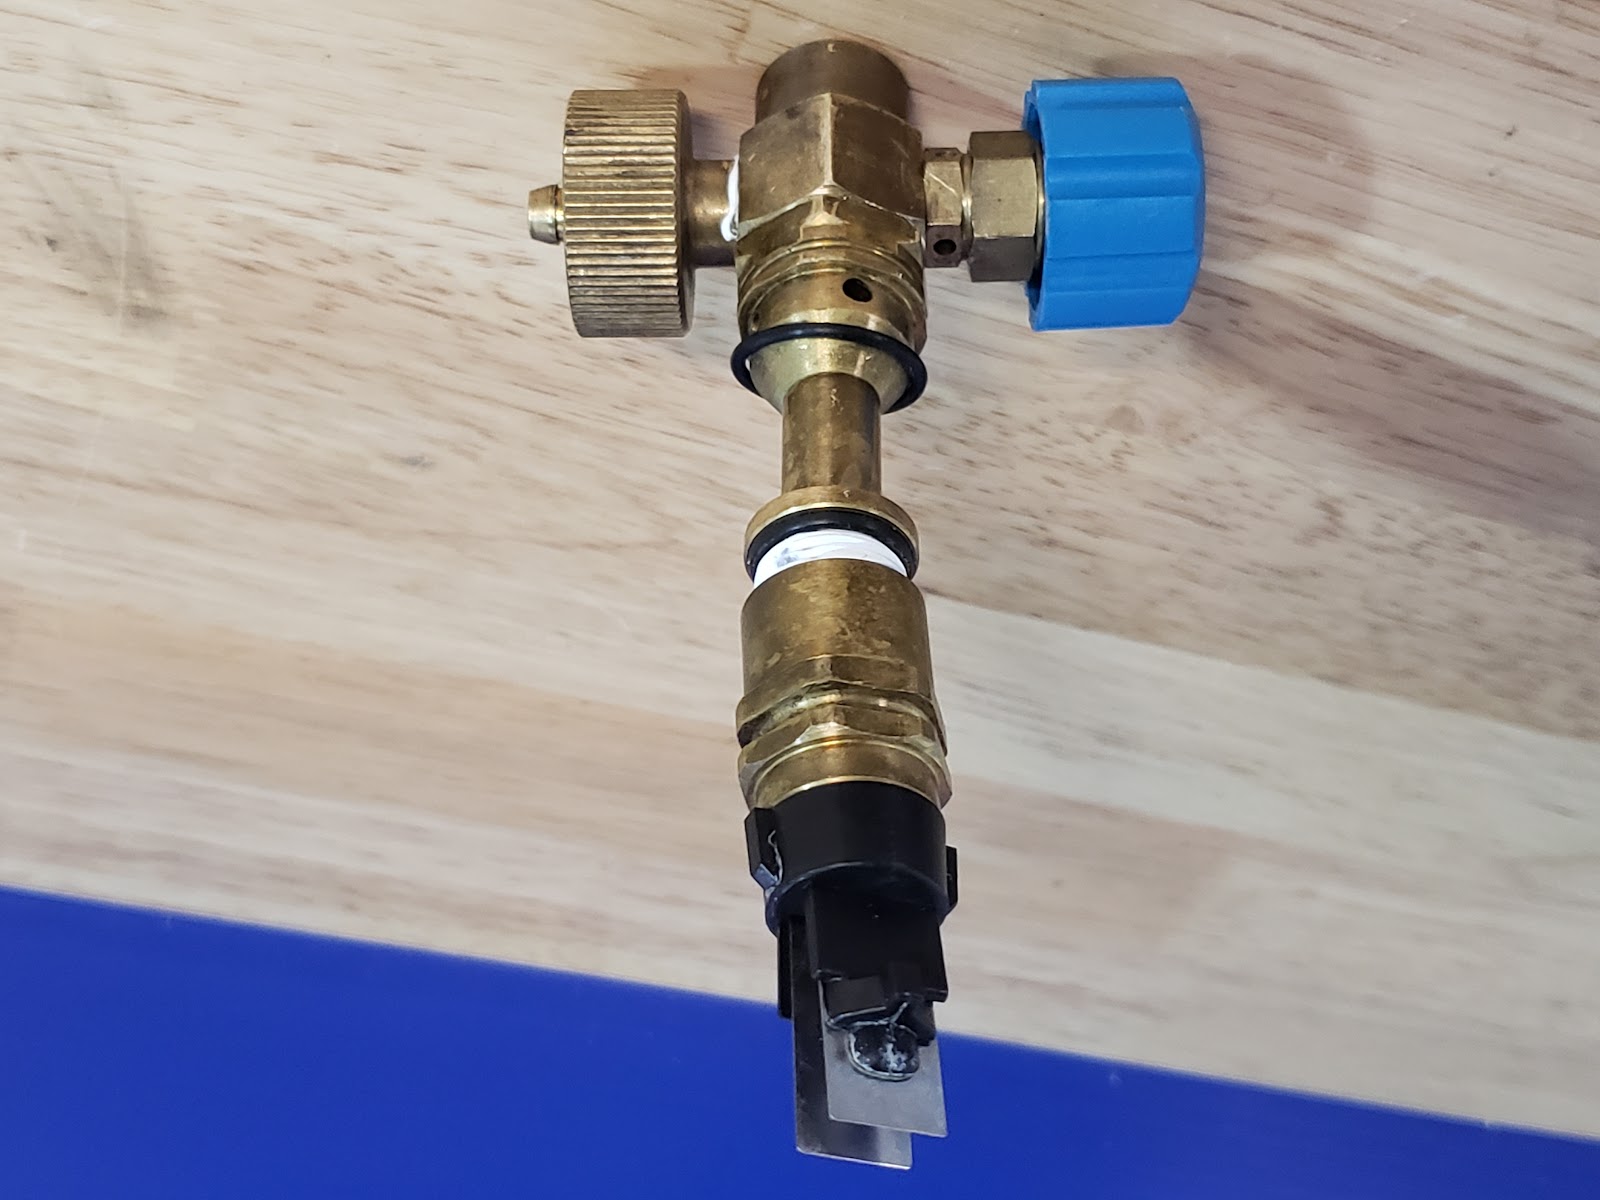
15. With the pieces separated, thoroughly inspect and clean out the internals, keeping an eye out for bigger chunks of debris which could be causing problems. Using a wire brush or even a paperclip, clean out the threads of any old sealant/tape, before applying your thread tape/sealant. It’s important that you don’t use too much of this, as it can cause blockages in the cannon.


16. Refer to the diagram below which shows what components need thread tape/thread sealant applied. Make sure to not use too much as this can cause blockages in the cannon.

17. Inspect (and replace if necessary) the mesh aerator, into the nozzle of the cannon, before putting it back together.
18. Re assemble in reverse order, making sure to tighten up the components properly, and don’t forget the plastic tube.

19. With your cannon cleaned and re-assembled, give your cannon a quick test to make sure that it's working correctly.

We can do all of this for you!
If the teardown guide has not solved your foaming problem, we offer a free service for anyone who has purchased our Snow Blow Cannon. Simply post your cannon to P.O Box 962 Buderim Qld, Australia 4556, with your name and return address enclosed, and email cannonservice@bowdensown.com.au with your name and shipping address, to let us know it’s on the way! Our team will give your cannon a thorough clean out and service, and test to make sure it’s working before posting it back to you.

Tips and Tricks:
- After using the cannon, turn the adjustment knob all the way to the + side, and run for 10-20 seconds to flush out the internals with fresh water, which will help prevent blockages from occurring.
- A vice makes the disassembly a MUCH easier job.
- Make sure the plastic tube is connected to the cannon before use.
- Don’t use too much thread sealant/tape, as this can cause blockages in the cannon.
- Be careful not to damage the rubber O rings when disassembling, use your fingers to pinch them off and roll them down the shaft. Using a screwdriver can cause cuts or rips in the rubber.
- We offer a free cannon service for anyone who has purchased our Snow Blow Cannon. Please email cannonservice@bowdensown.com.au for more information.
- When you reattach the brass nozzle, make sure to have the nozzle piece in a north south direction, so that the foam comes out in the correct orientation.
If you have any questions or comments about this article, feel free to email us at cannonservice@bowdensown.com.au or call our office on 1800 351 308.