Super quick engine bay cleaning and detailing
Is your engine bay needing a quick spruce up? Then this guide is going to help you give it a great, clean look, with a minimal amount of time required and just a couple of our products. It will suit people with later model cars, or anyone who has concerns about doing a more traditional engine clean by drenching it with water, or don't wish to spend time wrapping all the different electrical parts of their engine bay.
For fast cleaning
If it looks like most of the engines we see, and just needs a good spruce up, please read on for our fast way of doing it.
Most new cars usually have a heap of plastic covering the many parts of the engine bay in their cars. It's a simple job to clean this up so it looks better than new. A must do before any car show or even if you're getting the car serviced, so the mechanics will see it is a well looked after car and look after your pride and joy that bit more (well, you hope they will anyhow!).
If your engine bay is really dirty and caked in deep oil and grease from many, many years of neglect, this method might not be enough. Our work Maloo ute is not over the top dirty, so is perfect for this quick cleaning method.
Things you will need
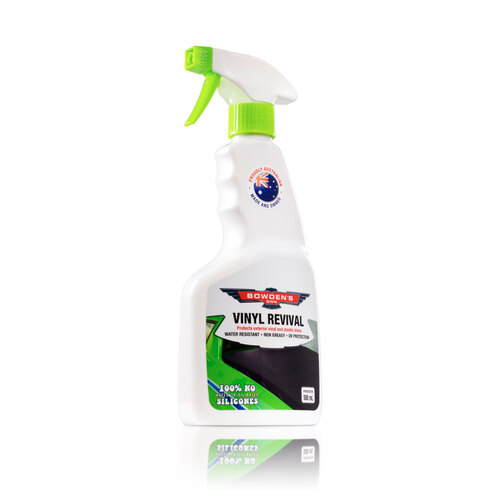
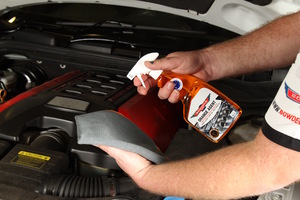
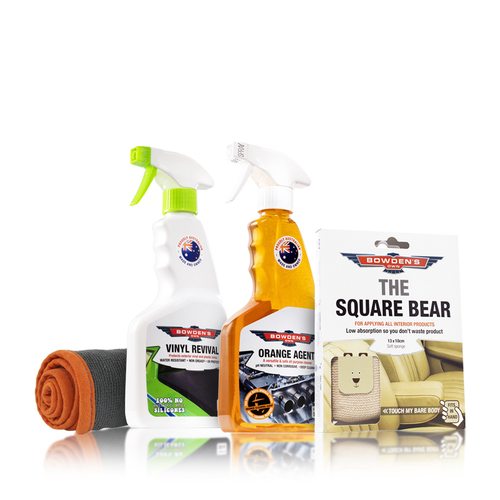
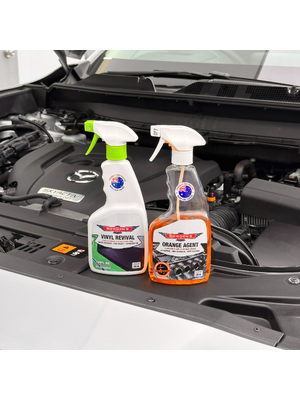
For this job you need two products and some tools; our multi-purpose, water based citrus cleaner, Orange Agent, and the great exterior plastic and rubber cleaner Vinyl Revival. You will also need two clean Dirty Deeds microfibre cloths, or our Twisted Little Suckers, and one Square Bear applicator, plus some small, medium soft bristled brushes you can get from most Auto or hardware shops for cleaning in tight and hard to reach areas.
Step 1
Cleaning away the grime
Make sure the engine is cool and you're parked in a shaded area, like your garage. As we don't use a hose or let it become excessively messy, you don't have to be outdoors for this job.
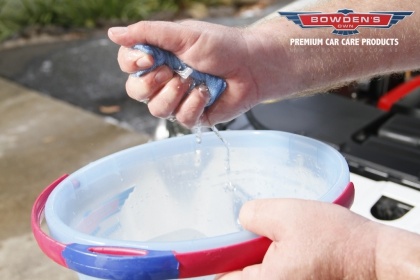
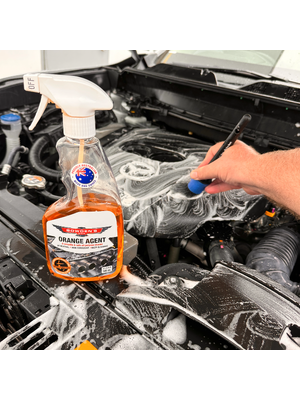
First part is to inspect the engine and clean the dirtier grease or oil affected areas. We use Orange Agent and our Dirty Deeds cloth for this job. Orange Agent is a safe, but strong biodegradable cleaner, that is not damaging to any rubber, plastic, alloy, polished, clear coated or painted surfaces in the engine bay. Spray it about 8 to 10 times into an already damp Dirty Deeds cloth, then with the wet cloth, wipe over the dirtier areas. Save time in cleaning up any excess Orange Agent by spraying it into the cloth for applying, not the directly into the engine bay.
Step 2
Rinse down
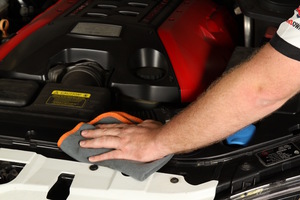
Work at cleaning small sections at a time. Turn and fold the cloth often, so you’re not spreading the dirt and grease throughout the engine bay. Once the cloth is dirty, wash it out in a bucket of fresh water, then wring the water from it and keep cleaning.
If you have any smooth plastic surfaces, wipe them down after your're done with a dry and clean cloth, then leave it to air dry.
Step 3
Bringing back the black
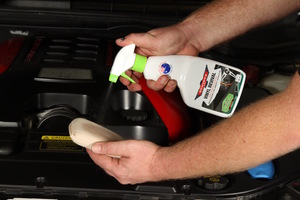
Next job is to clean and rejuvenate all the plastic and rubber parts in the engine bay. Spray around 5 to 6 sprays of the Vinyl Revival into a Square Bear microfibre applicator pad.
Step 4
Protective dressings
Vinyl Revival's new formula is an ideal cleaner and protectant dressing for all plastic and rubber in the engine bay.
Perfect for engine dressing and as it's not silicone based, you will not have a greasy, oily finish that attracts dust back to it. The Vinyl Revival will last a bit longer and is more protective than our Vinyl Care which is why we reccomend it. Both will leave the same new looking finish, but the Vinyl Care just won't last as long.
Apply to all the plastic parts, rubber hoses, and seals you can access. When the applicator gets dirty, rinse clean in fresh water, wring out, apply more of the product and keep cleaning.
Step 5
Keep the applicator clean
Don't let the applicator get too dirty! For the best result, you will need to rinse and then wring the water out before moving onto new sections.
Step 6
Hard to reach areas
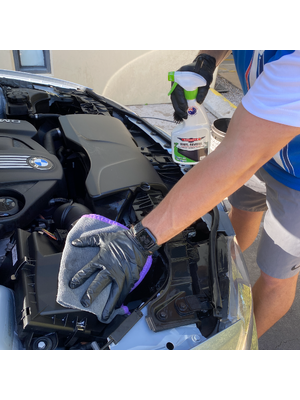
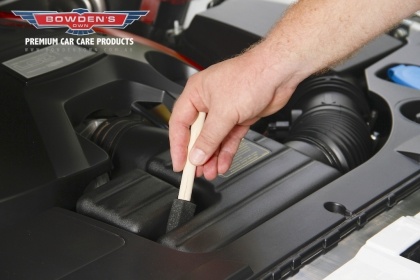
A favourite find has been the foam "paint" applicators which work great at applying the dressing into tight and hard to reach areas, just apply to the foam and away you go.
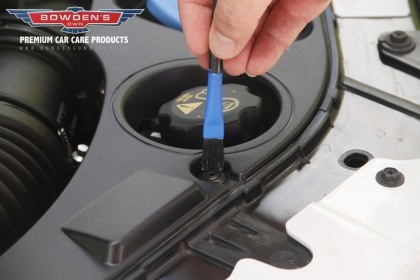
Step 7
Getting into the groove
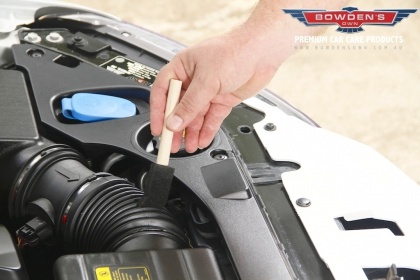
Same applicator is also great to use on plastic pipe grooves.
Use small brushes to get in and clean parts around the clips and edges that you can't easily get to.
Step 8
Wipe down
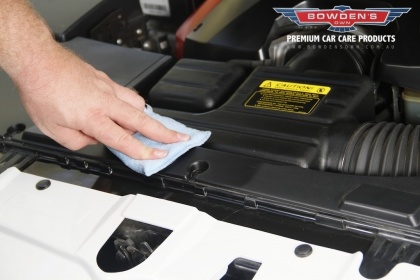
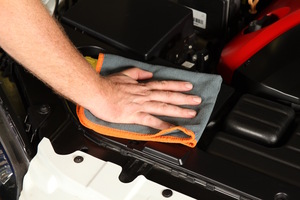
Let the applied Vinyl Revival sit for a minute and then quickly wipe off any excess product with a clean, dry Dirty Deeds microfibre cloth.
Your engines' plastic and hoses now have a perfect medium-gloss, like-new finish.
Step 9
Electrical parts
Now have a closer look at the electrical items, plugs, connections etc around the car. First get a soft bristled detailing brush like our Pouncer brush and give them a quick dusting.
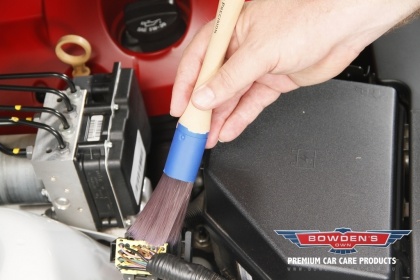
Step 10
Once you're done dusting, spray a tiny squirt of Vinyl Care / Revival into the brush, and apply to the plastic areas (wash the brush bristles in water when finished).
Depending on how much time you have and how picky you are, most of the engines nooks and crannies can be cleaned with this method.
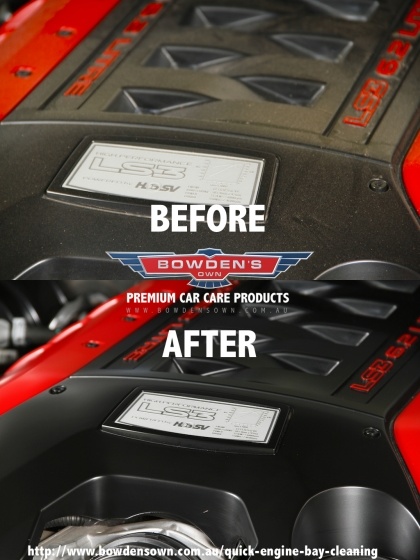
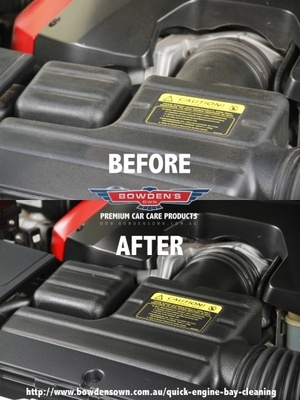
Some before and afters
Any questions?
You can get these great car care products at all of our great retailers nationwide. Find your closest one in the link at the bottom of this article.
If you have any questions or feedback about this article please contact us by email - info@bowdensown.com.au or call our office on 1800 351 308.
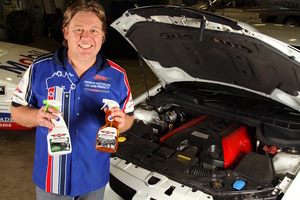
Love your car,
Dan Bowden

Products Used
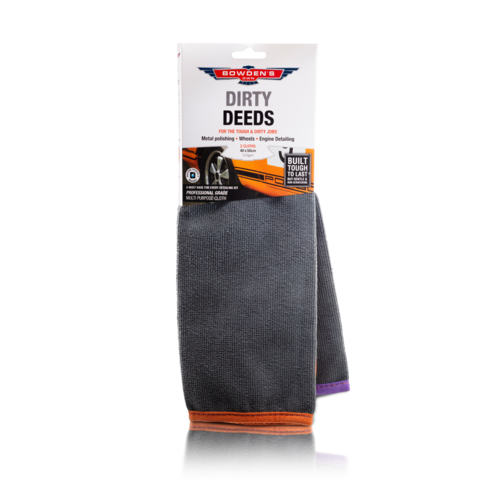
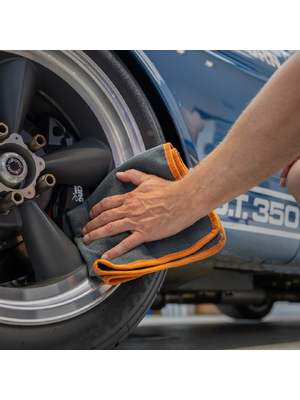
Dirty Deeds
A very useful 2 cloth pack, created for all the dirtier jobs around your car and bike.
$27.99
FAVE

Orange Agent
Super versatile citrus pH neutral cleaner, to remove silicones, oils and heavy grime from most surfaces.
$17.99