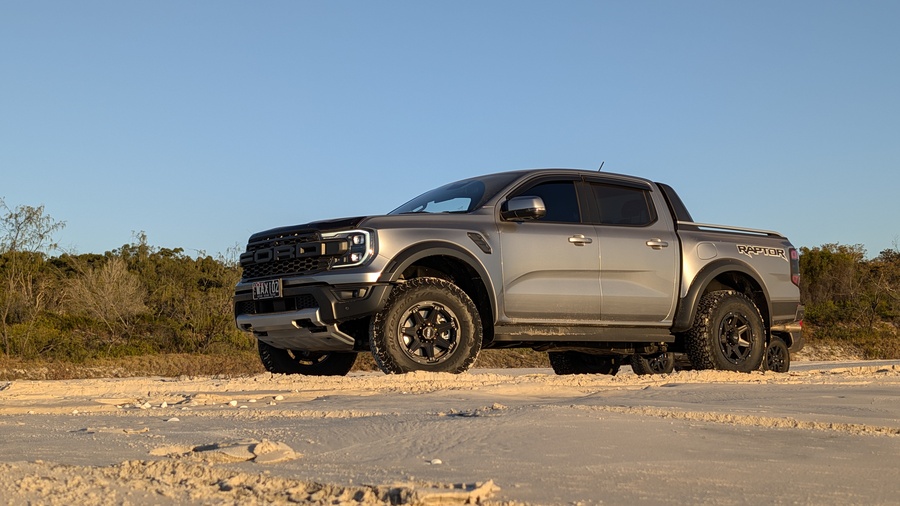
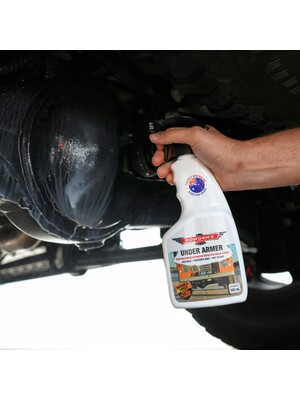
Underbody cleaning and protection with Under Armer
Why underbody cleaning is important
We've all been there. Just gotten back from an extended adventure out in the wilds, unloaded all the sandy camp furniture, fast food wrappers and "not sure if clean clothes", the very last thing we want to do is crawl around underneath the 4WD and experience something akin to Chinese water torture as we clean the mud, sand and salt that has accumulated.
Unfortunately, this is a very important part of vehicle maintenance, and those who neglect it will find that rust will quickly take hold of any unpainted (including scratched, gouged or dented) metals. This can be catastrophic for older cars which are not as well sealed as modern counterparts.
Anyone doing maintenance on their own vehicles will also know the delicious taste of the sand and mud from recent trips as it rains down upon your face upon a single turn of a ratchet on your sump plug.
All of this can be avoided by giving your underbody a good clean after each trip, and applying a protective underbody coating that resists corrosion, salt, mud and sand. Traditional methods like Fish oil, lanolin, boiled linseed oil (don't even go there) worked relatively well for that first part, but are the biggest dust and sand magnets out there. Electronic rust proofing is a highly debated topic, and has never been proven in any real capacity to help.
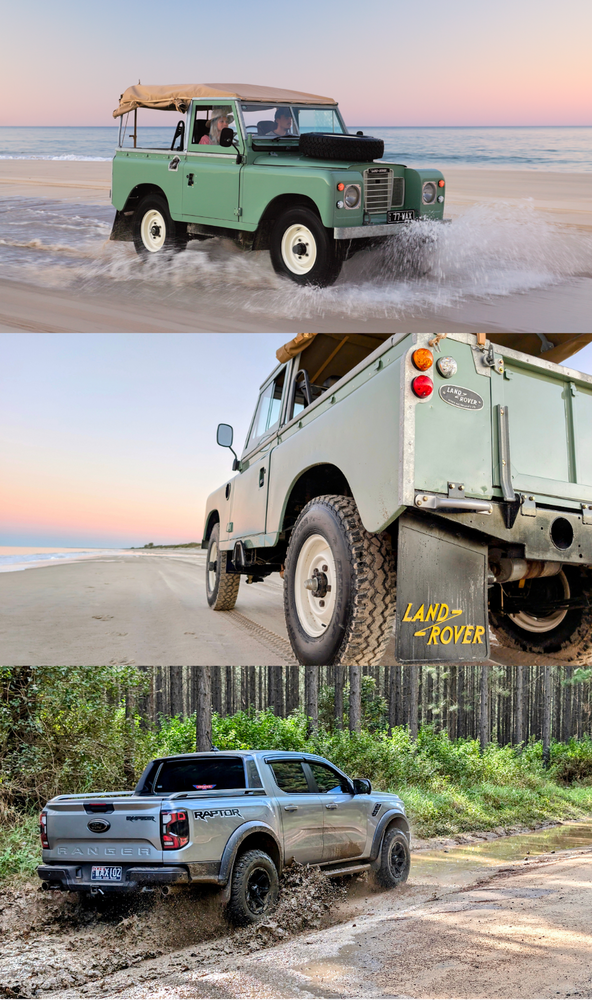
We set out a number of years ago to develop a solution that protects the underbody of your car, truck, 4WD, boat trailer, caravan, pretty much anything that heads off the beaten track, but it had to meet our strict standards. We wanted something that was very protective and durable, super hydrophobic, without being sticky, greasy or tacky. Over 400 formula changes and intense beach holiday testing was done to arrive at our final formula - Introducing Under Armer.
Pre wash with Mega Snow Job
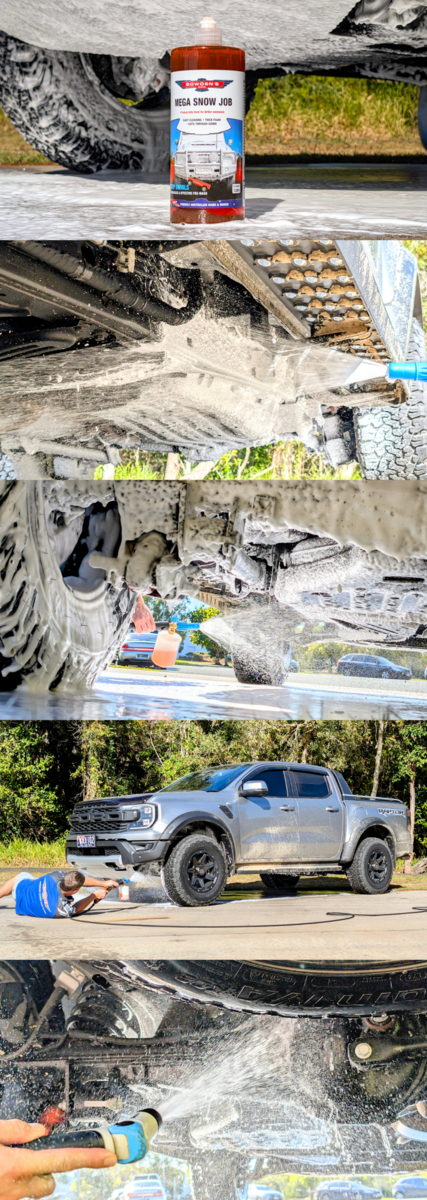
Under Armer needs a clean and dry surface to properly bond to, so the underbody needs a good clean before application. We recommend applying Under Armer before you wash the outer body of the car, so that you can clean up any overspray that is caught by the wind and potentially deposited on your paint.
If you've been nipples deep in a few muddy bog holes, chances are you will have some thick chunks of mud stuck around springs, differentials, bash plates etc, so you'll want to use a pressure washer or a strong jet of water from the hose to dislodge these first. Park your vehicle on the grass, to avoid a messy driveway clean up later. Remove your bash plates if so inclined to get a more thorough clean.
Fill up your Snow Blow Cannon bottle with 900mL of water, and add 100mL of Mega Snow Job to it. Give it a good shake, to mix thoroughly, and then begin foaming the underbody, making sure to adjust the fan spread to get good coverage of all underbody components. Pay particular attention around the wheel arches as these tend to be the dirtier areas. You'll want to aim to use about half the cannon bottle here, saving the other half for the regular wash later on.
Allow the Mega Snow Job a few minutes to dwell, and then begin rinsing off, either with the pressure washer or a hose sprayer on the jet setting. Spend a long time doing this, being thorough and rinsing every potential location that mud or sand could be hiding. Places like the top side of chassis rails and exhaust mufflers, inside plastic bumpers and side step railings, around the gearbox and bellhousing, inside bash plates and guards etc.
The more thorough of a job you do here, the easier the next steps become, so don't be afraid to take a bit of time with this.
Flushing out chassis rails
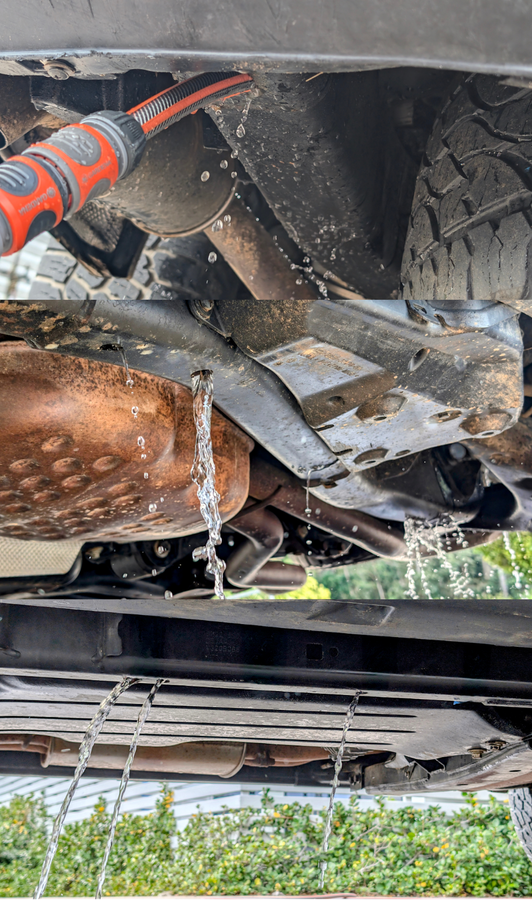
Now that that the majority of the mud, sand and salt have been removed, it's time to clean out the inside of the chassis rails. This is one of the most important steps if you want the vehicle to last a long time, as all of these things can build up inside and create wet spots which will quickly accelerate rust. We've all seen the tricks with parking over a sprinkler or using an underbody pressure sprayer attachment, and frankly these methods are just not that effective at removing mud, salt and sand from inside the nooks and crannies of your chassis components.
We like to flush one chassis rail at a time. Ideally, park your vehicle nose down on a slight hill (make sure the handbrake works and chock the wheels if necessary) and take the connector end off of your hosepipe so you have a steady even stream.
Starting at the back, find the furthest back hole in the chassis rail, and poke the hose end through, pushing in as far as the hose can go. Observe under the vehicle as the sand and mud begins to flow out from drain holes further down the car.
Wait until this flow becomes clear water, and then adjust the hose around, pulling it in and out until the water runs clear. Pull the hose out completely, find the next hole down the line, and repeat the process.
Once you've made your way down the length of the vehicle, repeat these steps on the opposite side of the vehicle until it's all clean and clear. You may need to rinse the underbody down again at this stage to remove any loose sand that has run down from the rails.
Deeper cleaning
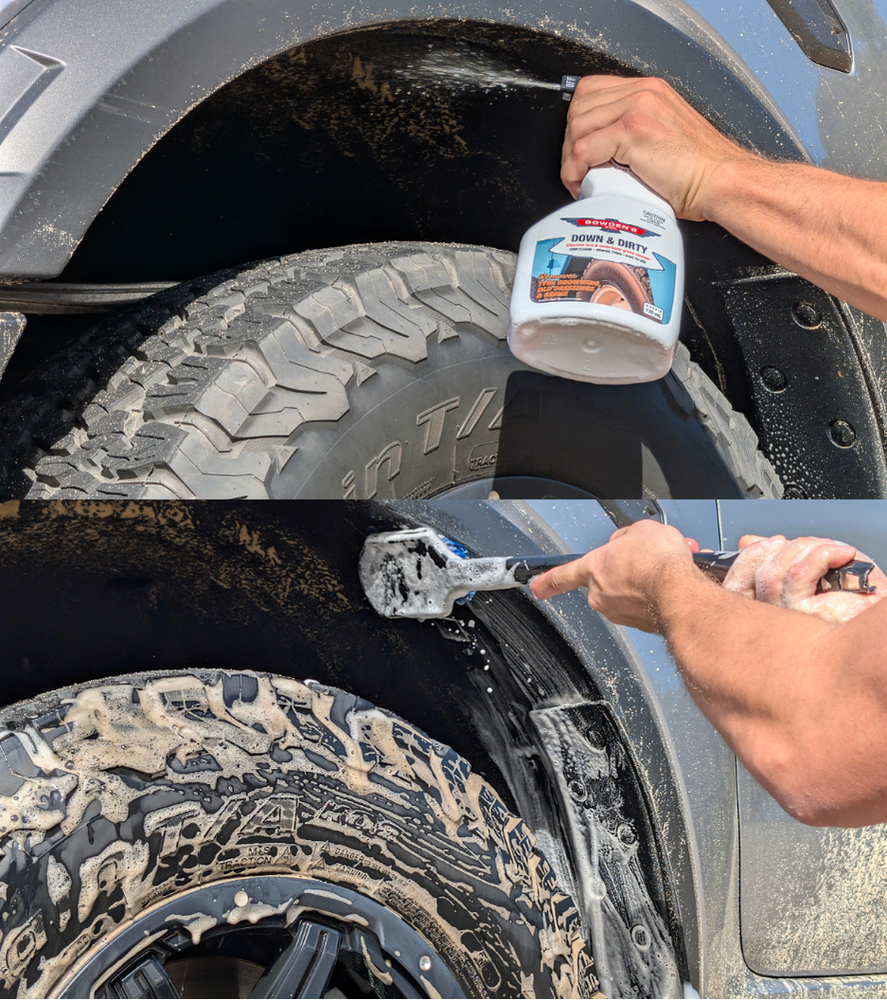
If it's been a while since you last cleaned underneath, or you've had a very dirty adventure, you may need some additional cleaning to remove the rest of the mud and sand. Our new tyre and underbody cleaner Down & Dirty is perfect for this, paired with a decent brush combination like the Little Stiffy and Big Black One and a Big Boy Brett from our Foursome set. This is going to be a messy job, so put on some old clothes that you don't mind getting wet and muddy.
Fill up a Wheels bucket with water and, optionally add a capful of your favourite wash to it for extra cleaning power. If you have a garage creeper, it can make the whole job a lot easier.
Divide the underbody up into quarters, one wheel area at a time, and begin spraying Down & Dirty on the dirty sections. Dip your chosen brush into the bucket, and begin scrubbing the area you are cleaning, making sure to be thorough. Immediately rinse off the cleaned section, don't let it dry. It can be easier to do the areas further underneath the car first to avoid getting completely saturated from all the leftover water from rinsing. Be thorough and systematic as you move around the car to avoid missing any bits.
Drying
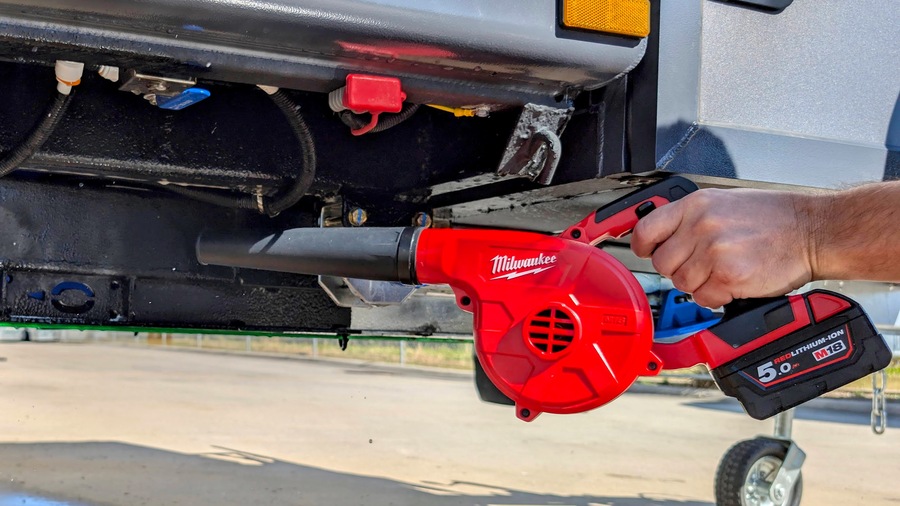
The underbody will dry naturally with evaporation if it's a warm day, but this can be accelerated by using a portable electric blower to blast away the larger bits of standing water, or even by taking the car for a quick blast around the block.
Applying Under Armer
We don't recommend applying Under Armer when it's raining, windy, or really cold, as this can affect the curing of the coating.
Under Armer is unique in the underbody protectant world in its application and the finish it leaves. More traditional products tend to leave a sticky, tacky excess that attracts sand and dust for the first few trips after the initial application. We've found a way to eliminate this tackiness with some pretty cool chemistry, that allows the Under Armer to be rinsed off after applying to remove the sticky excess, without affecting the performance. This formula works best on clean, bare surfaces. If you have applied other more traditional underbody protectants like lanolin, fish oil etc, this will need to be removed for the Under Armer to work its best.
Some manufacturers apply a thin wax coating to the underside of their vehicles to prevent corrosion for the time that the vehicle spends on the boat. This wax leaves the chassis looking darker and shinier than the paint job would normally allow, but will also intefere with Under Armer bonding to the surface and needs to be removed. Our Down & Dirty cleaner is perfect to remove this thin layer of wax - don't be alarmed if the surface looks dull, this is how the underbody materials actually look! Once Under Armer is applied, it will go back to the darker, rich finish.
Under Armer is safe for all underbody materials, including plastic, rubber, stainless, anodized, powder coated, alloy, or hammertone finishes.
Chassis and Metal components:
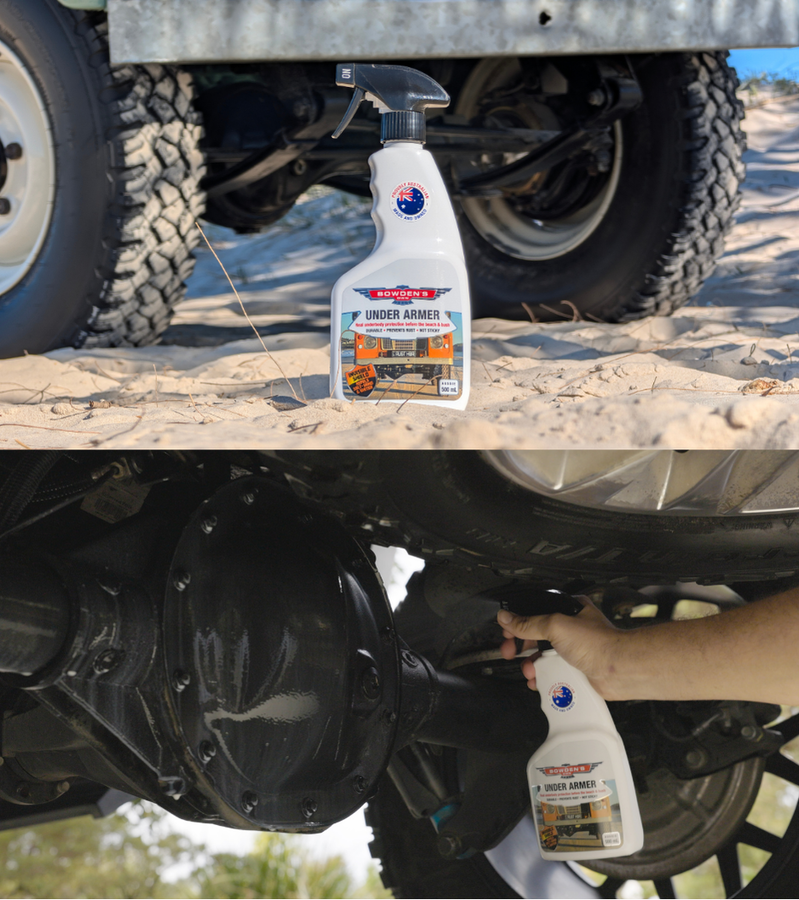
Working on clean and dry sections, mist the Under Armer lightly over the surface, enough for an even coat. Don't apply too much, only a thin, even coat. Continue around the whole car until it's all done.
The rinse off
The cure time for Under Armer is highly dependent on the temperature and humidity. The hotter and drier it is, the faster it will dry. We've found 1 HOUR to be a good amount of time to leave it on an average day. If it's really cold or raining, you may want to leave it for up to 3 hours.
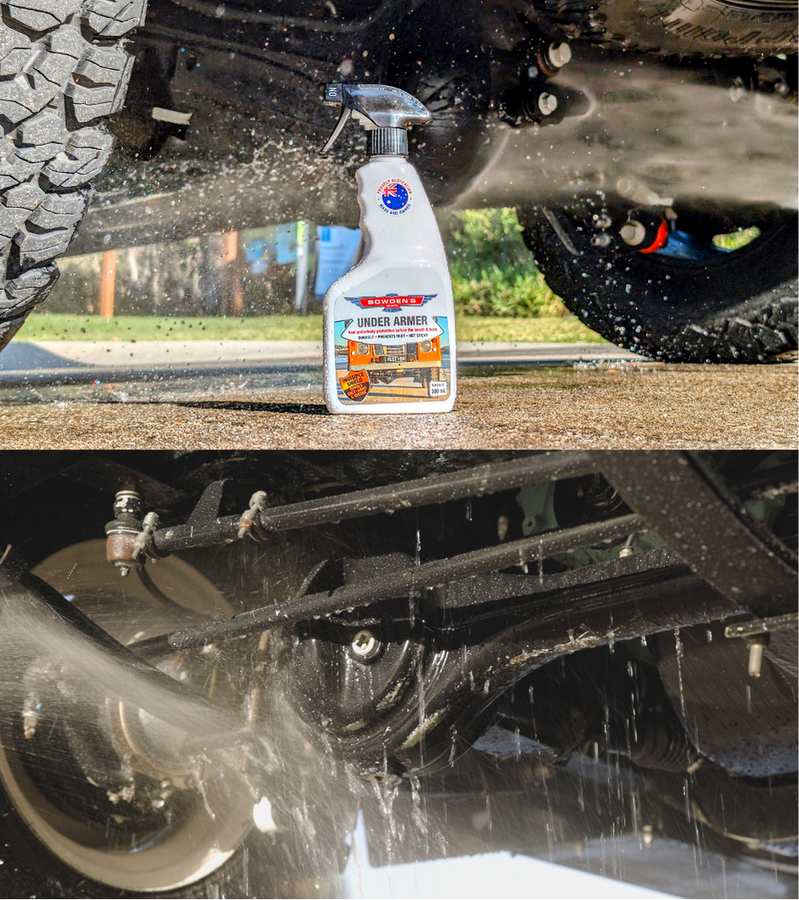
Once the dwell time has finished, grab your hose sprayer gun or pressure washer and begin to thoroughly rinse off everywhere the Under Armer was applied using a STRONG JET OF WATER. It's important to go over the area a few times to ensure it properly bonds to the surface. We've found that the stronger the jet of water, the better the results will be!
For best results, we've found after you apply Under Armer, you'll want to give it a couple of days to fully cure before exposing it to hardcore water, mud, or sand.
Final steps
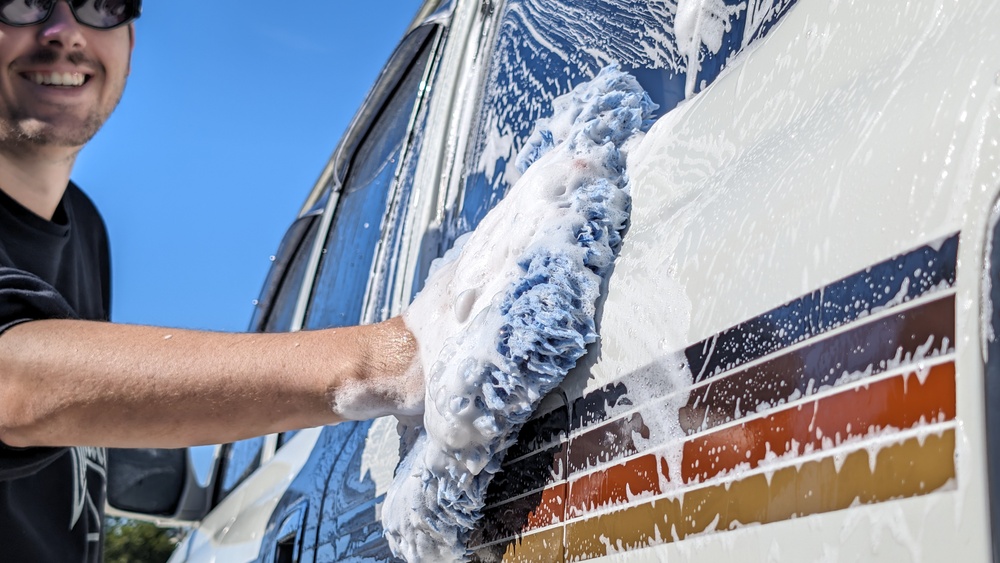
It's best practice to wash the vehicle after applying Under Armer to clean up any overspray that may have ended up on the paint or the glass. Follow our 4WD detailing guide for this process linked below. We also recommend thoroughly rinsing off concrete or driveways where you applied Under Armer to avoid any product curing on these surfaces.
Tips and tricks
Under Armer is unique in how it cures and bonds to underbody surfaces. The primary rinse off method is part of the curing process and can change how the product performs depending on how long you let it sit for. Our recommended rinse off times have come from our extended testing to find a good middle ground for protection and non stick properties.
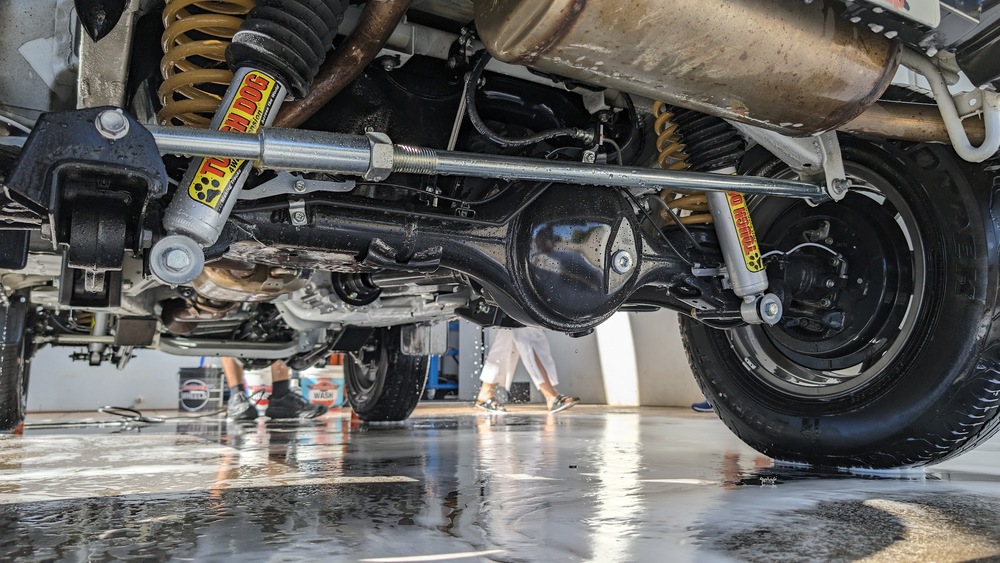
Any stuck sand can easily be removed with a brush like our Chubby or Little Stiffy and a spray of Down & Dirty.
Reapplication
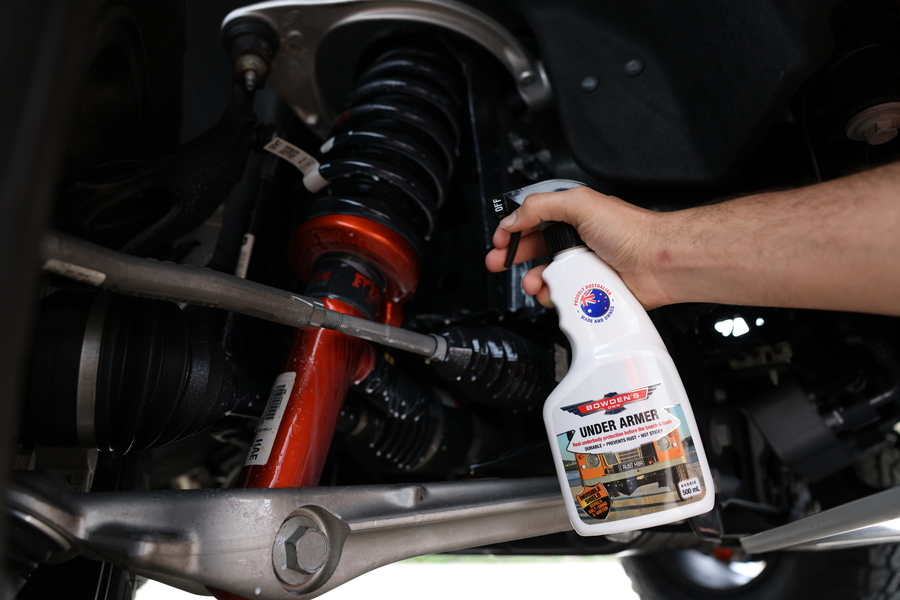
If you ever feel the need to top up the Under Armer, you'll find the process similar to the initial application. You can usually tell that the protection is fading if the surfaces aren't hydrophobic anymore. Make sure to clean and dry thoroughly before applying.
If there are still hydrophobic properties, the Under Armer only needs 15-30 minutes cure time as it will bond well to the surface left behind by the previous application.
Ready for your next adventure
Your vehicle is now clean and protected, ready for your next adventure into the beautiful backyard we have here in Australia. You'll find that the super hydrophobic properties of Under Armer will make cleaning next time a lot easier, and should last for a couple of months.
Should you have any questions about anything mentioned in this article, or have questions about other products and processes, feel free to get in touch on 1800 351 308, or shoot us an email to info@bowdensown.com.au.
Happy adventuring,
Gareth Bostock
