Your new car detailing guide
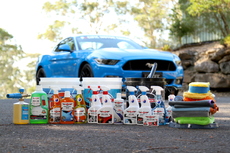
The right gear for the job
So you’ve just bought a new car and you want to look after it using the Bowden’s Own range of products. This article will take an in-depth look at all aspects of cleaning and maintaining your new car.
Clean your wheels first
Always do any car washing in the shade, with the paint cool to the touch for best results. Not doing this can cause the water and the wash suds to evaporate faster than you'd like, possibly leading to water spots on the glass and paint!
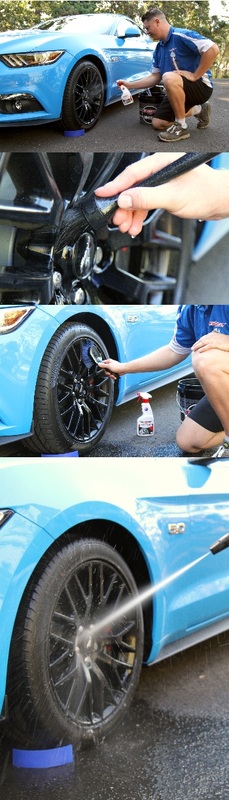
We like to start by cleaning our wheels and tyres first, as they are generally the dirtiest part of the car, and the grime off them is not what you want going onto your freshly washed car. Also, it's more time efficient to wash the car afterwards, so you don't have the rinse water sitting on your cars panels for a longer period after washing, which could potentially lead to water spotting.
First step is to put some Hose Sliders under your front tyres to stop the hose and pressure washer getting stuck!
We've always liked using pressure washers to help detail our cars, and they help a lot with wheel cleaning. If you don’t have a pressure washer, and you’re using a hose, or your wheels needed some extra cleaning after the pressure washer, grab the dedicated Wheels bucket (place a Great Barrier Thingy in it if you like). Add a capful of our Dirty Times Wash and then fill it to the desired level and suds it up using the hose or pressure washer. Get the bucket situated next to the first wheel you are going to clean.
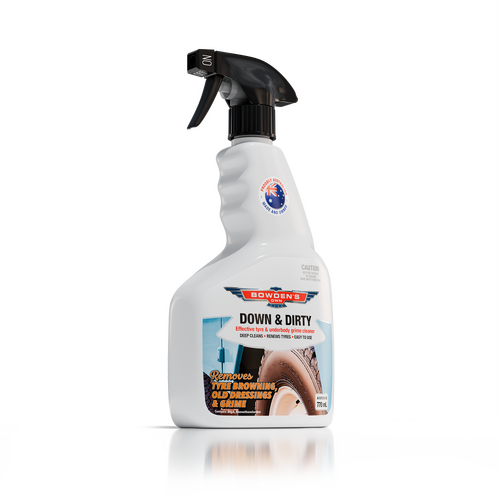
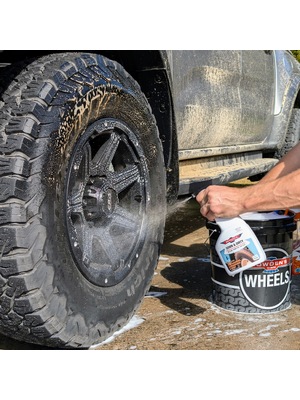
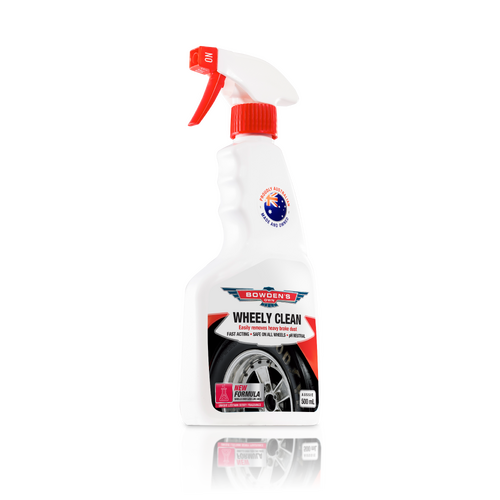
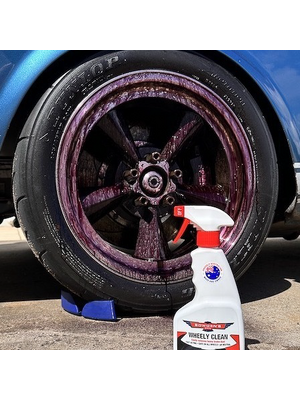
If your wheels have a lot of brake dust, then use Wheely Clean here. If they're more grime affected, use the Down & Dirty on the wheels and tyres. Often when you bring a new car home, the tyres will be covered in silicone tyre dressing, which we can remove with Down & Dirty. Spray Down & Dirty onto the tyres, then spray Wheely Clean onto the wheels. Scrub the tyres with The Little Stiffy brush using the wash suds we made before. If the inner wheel guards need a clean, do them at this stage with the Big Black One brush. Once the tyre has been scrubbed, rinse the whole thing off, wheel and all, with the pressure washer or hose. We rinse off here so we're removing as much brake dust and road grime from the wheels as possible before using any brushes on them, to greatly reduce the chance of scratching or marking the wheels. Wheely Clean only needs 30 seconds to 1 minute of dwell time, so don't let anything dry in this step, and always do 1 wheel at a time.
After rinsing the wheel and tyre, go back to your Wheels bucket now and use a system of brushes that's going to best suit your wheels. The Flat Head Brush for the barrels, Nuts & Guts brush from The Foursome brush set for the wheel nuts, air valve stem and any other hard to reach areas like the brake caliper. For most wheels, the Chubby Brush is going to be the most suitable brush for wheel faces. If you have a high gloss black finish, or your wheels are super delicate, consider the Palmy Brush or Octobrush with their super soft bristles.
If you're cleaning really dirty or mud caked wheels, it can be beneficial to pressure wash or hose the wheels first to remove any larger chunks of mud and dirt.
Once you've finished cleaning and rinsing the wheels, hit them with some Wet Dreams - our spray on, rinse off sealant, to help protect the wheels, so they're easier to wash and clean next time around. While the wheel is still wet, spray some Wet Dreams straight onto the wheel, then immediately pressure wash or hose it off to reveal some epic bead porn.
Once you're done, rinse the brushes out in fresh water and hang them by the hooks on the handle ends with the bristles facing outwards, or place them in the Wheels Bucket with the brushes facing outwards or upwards, to not disfigure them. If they do ever get a bit mashed down or up by mistake, just run hot water over the bristles with them facing downwards to help regain their shape.
The Snow Job clean
If you have a pressure washer and our Snow Blow Cannon, follow the steps below. If you do not have a pressure washer, scroll down to the hand washing steps.
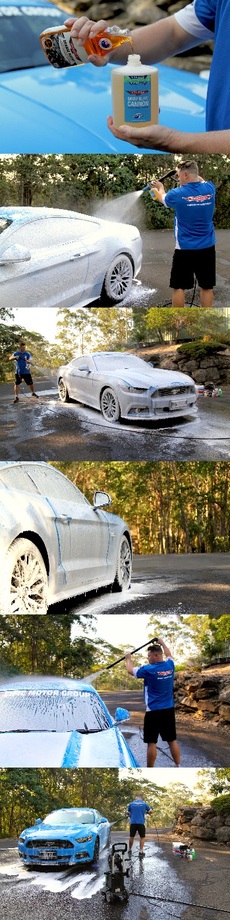
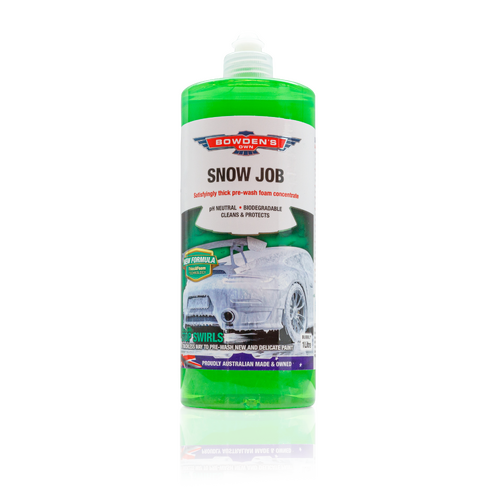
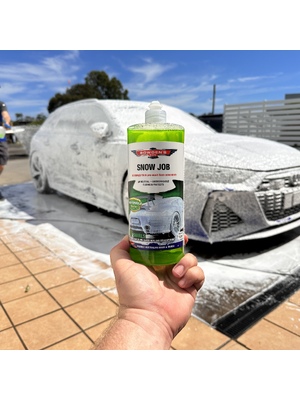
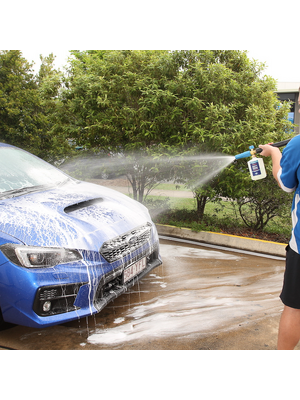
The first thing we do is snow foam the vehicle with a strip wash solution using our Mega Snow Job at a 4:1 ratio. This creates a thick, luscious foam over the entire vehicle that breaks down dirt, grime and loosens harder, baked on contaminants. It also removes any waxes or silicones on the paint, to ensure a clean surface for the following steps. NOTE: You DO NOT do this every time you Snow Job the car! You only do this maybe once or twice a year when you are doing a full cleanse, clay and seal. For regular Snow Jobs, use 900mL water and 100mL Snow Job solution.
Set up your pressure washer directly in front of your car and connect the power and your hose/water to it. Don’t turn it on yet! We use a 9:1 ratio of water to foam wash and have made this super easy to work out.
Simply fill the Cannon’s bottle to the “Fill Water to Here” mark (that’s around 900mL of water), then measure and pour in 100mL of the Mega Snow Job foam formula to the “Fill Snow Job to Here” mark (100mL). We put the Mega Snow Job in last so it doesn’t foam up in the bottle while you’re filling it.
Attach the bottle to the Cannon’s screw in intake, being careful to not cross-thread it, then shake it well with your thumb over the adapter tip to stop it splashing out.
Now attach the Cannon to the pressure washer, turn on the water, then power it up.
Squeeze the trigger of your pressure washer till the foam starts coming out.
Adjust the Cannon’s blue end nozzle to find your desired foam arc. We like it around half to two thirds of the way between full fan and powerful jet.
Keep the Cannon about a metre away from the cars’ surface to cover it in a lovely, thick foam. Starting on the lower sections and rear of the car, working your way around the car, from the bottom to the top, allowing the foam a longer dwell time on the dirtier, lower areas. Let the foam sit and do its work for 4 to 5 minutes, gently dissolving the grit and dirt from the surface. Do not let it dry.
Remove the Snow Blow Cannon attachment and insert your pressure washer nozzle.
Pressure wash the whole car starting from the top and working to the bottom, cleaning the very back of the car last so the foam has the longest dwell time on it.
Don’t let the jet of water get too close to window and door rubber seals or other delicate parts like fabric tops, or emblems on the car. A distance of 30cm to 50cm away is always recommended so no damage can occur from the water jet.
Once the foam is completely washed off, use your best judgement on whether it now needs a hand wash or not. If it does, you can follow the steps below - if it doesn’t, you can go on to drying.
A safe hand wash
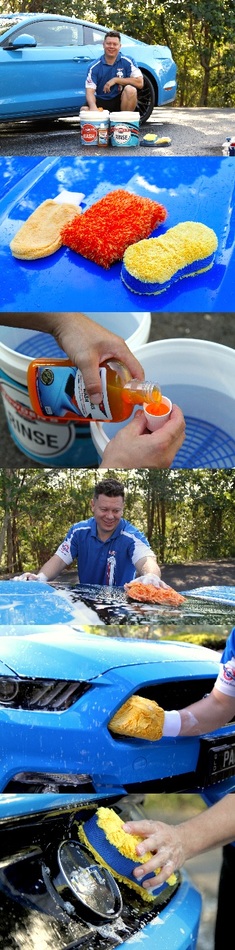
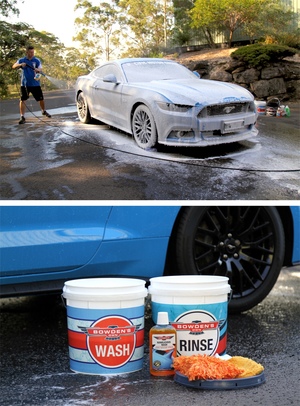
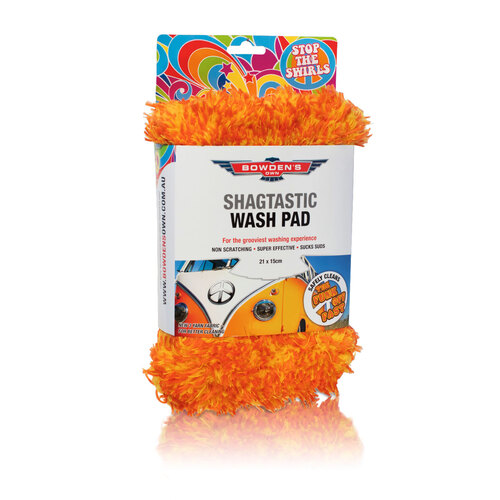
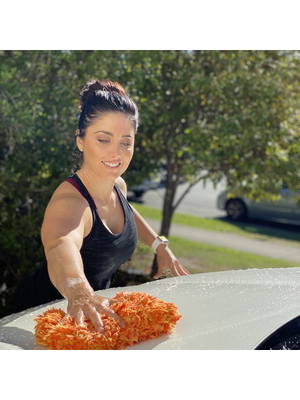
Place your Great Barrier Thingys into the bottom of your Wash and Rinse buckets. Fill the Rinse bucket with water to around the 2/3rds mark. This bucket will be used to rinse your wash pad - one of our safe microfibre wash tools like the Wash Pillow, Shagtastic Wash Pad or Muffy Sponge (this helps tremendously with minimising wash induced swirls and scratches). In the Wash bucket, put in your wash of choice like our Nanolicious Wash or Wax Wash, then fill to 2/3rds of the bucket. Using some pressure from the hose or pressure washer, you can now get the desired sudsiness.
Wash the car from top to bottom, rinsing your wash pad in the clean water after each section (one section could be a panel, or half a panel depending on how dirty the car is). We like to use the Wash Pillow for all the bigger areas like the roof, bonnet and doors, then use the Shagamittastic Wash Mitt for the more intricate areas like front grilles, around side mirrors etc.
TIP: When using our Wash Pillow, Shagamittastic Wash Mitt, or Shagtastic Wash Pad, take care around badges and sharp corners, as the shagadelic weave can get caught if you're not careful. Just use lighter pressure around these areas.
Now use a gentle stream of water over the car from the hose, to help remove the larger water beads and droplets. Once you're done, empty the buckets and give them a good rinse out. You don't want to be storing any wash water for use later!
Claying Rubber + Three Way iron decontamination
What is it?
Three Way is an all Australian developed and made spray on iron removal product, that is safe to use on modern clear coat paint, headlights, exterior trim, chrome, glass and rubber. It offers intensive removal of embedded ferrous iron particles. Not just that though, it's been designed to be super lubricating so it can be used as a clay lube with our Claying Rubber (note it can affect the Clay Bar). It's a uniquely pH neutral formula, utilising paint safe cleaners to help with the removal of old waxes and sealants, providing a thorough and total decontamination process. The thicker viscosity of the liquid allows for a slower drying time and longer dwell time on the side panels of your vehicle. Also helping with this is the fact that it's hydrophilic, meaning it spreads better across the panels, which in turn uses less product. This will leave an amazingly clean surface that will be ready for our Paint Cleanse & Restore, followed by our paint sealing products.
We've found for the most effective decontamination, use Three Way as the lube for our Claying Rubber. This is a very specialised rubber compound that we’ve found to be super fine and it's fast and easy to use on large panel areas.
Step 1:
Wash and dry the vehicle safely. We'd recommend to wash with one of our lubricating washes using one of our safe microfibre wash tools. We recommend using a double solution of your favourite wash to make sure you're getting rid of as much dirt, oils and grease as possible. After you've washed the vehicle, dry it safely with one of our safe microfibre drying towels. Don't use any Boss Gloss or other detailing sprays during this drying process, as it can affect the next steps, and it'll also be a waste of product!
Step 2:
Make sure the vehicle you're decontaminating is in the shade and the paint is cool to touch. A well ventilated area outside in the shade is ideal.
Put on some gloves. Although the product doesn't smell of death, the gloves will make sure that your hands don't smell afterwards. Spray Three Way directly onto a panel, or half a panel depending on how big the area is. Do this one section at a time and allow 1 minute for the purple reaction to begin. This reaction is the ingredients in Three Way reacting with the iron particles on your paint, and safely breaking them down into a water soluble solution. With these particles now broken down, they will not scratch or mark your paint under the Claying Rubber.
Step 3:
Spray a few sprays of Three Way into the Claying Rubber and GENTLY apply to the paint in straight lines over the lubricated area (DO NOT USE ON AN UNLUBRICATED AREA). You will feel the surface go from rough to smooth as the rubber polymer removes the bonded contamination from your paint. Once the paint is smooth, you know you're done and you can move onto the next section.
Apply more product as needed to keep each section well lubricated. You will notice as you work the product more, it will start to lather up. This is really deep cleaning the paint surface and removing the waxes and sealants. If the Claying Rubber becomes full of contamination (you will hear it sounding rough and not clearing up), then it's time to give it a rinse. Rinse it out in fresh, clean water, and then go right back to claying.
Step 4:
Wait another 1 minute for any further iron reaction (the product will keep reacting with any iron particles present during this whole process), then rinse the area thoroughly with water.
Repeat this same method on all the remaining panels, making sure to rinse the Claying Rubber as you go to remove the contamination from the surface. Do this until the entire vehicle is done.
Step 5:
Wash and dry the vehicle again safely to remove any remaining residue left over from the claying process. It can be helpful to add 100mL of Orange Agent to this final wash, to help remove any last residue from the Three Way process.
If your vehicle has extremely bad iron contamination, you may need to repeat this process.
Step 6:
After use, rinse the Claying Rubber out thoroughly. You will need to rinse it in clean water, or run some clean tap water through the foam section on the back. DO NOT SCRUNCH IT UP AS IT WILL AFFECT THE RUBBER POLYMER. Run the side of your hand across the foam section to help remove as much water as possible. Store the Claying Rubber in a cool and dry place, rubber side up, as the rubber surface can become quite sticky - don't worry, this is normal. We find placing an old microfibre cloth under the Claying Rubber will help absorb residual water from it as it dries.

Fast and easy drying
It's always important to remember when drying your car, that if the car is in the sun, you should be wetting the glass or panels periodically to avoid getting water spots.
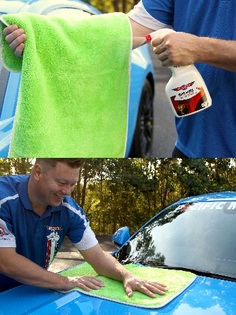
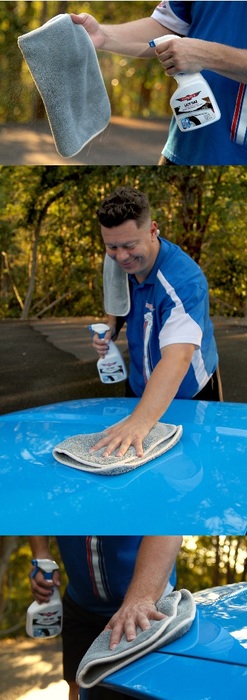
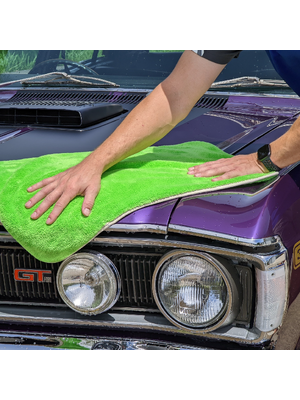
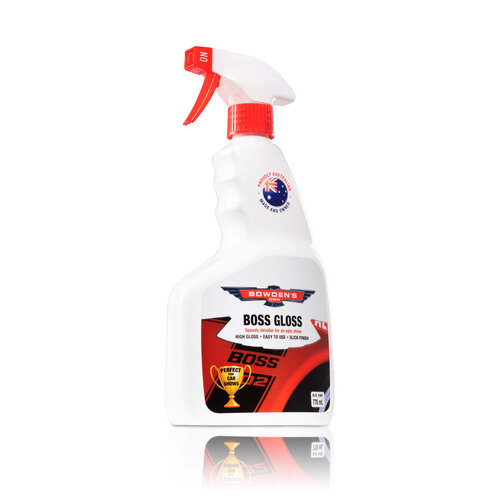
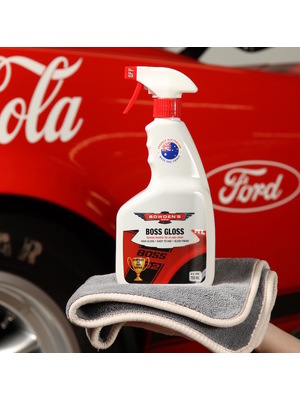
When just used by themselves, our safe microfibre drying towels like the Twisted Pro Sucker are pretty damn good for drying your vehicle. But, you can make it even better... just add Boss Gloss. This great technique is used by many professional detailers to make drying your vehicle easier than ever before. The idea is to use the Boss Gloss as a “drying aid”, by using Boss Gloss's hygroscopic (it absorbs water) nature, helping attract and absorb the water into the fibres of the drying towel, hence cutting drying time as well as adding very important lubrication for further minimising errant dirt and grime ever scratching your paint. Also with this technique, the Boss Gloss gives an amazing shine to your paint as well.
The drying aid process:
Grab your drying towel like the Twisted Pro Sucker, and drape it over your arm with the bulk of the towel hanging down. Spray 6-8 sprays of Boss Gloss straight into the towel. Flip the towel over and spray another 6-8 sprays on the other side. Now dry the vehicle like you normally would, starting with the glass, then working top to bottom.
Dry the door jambs
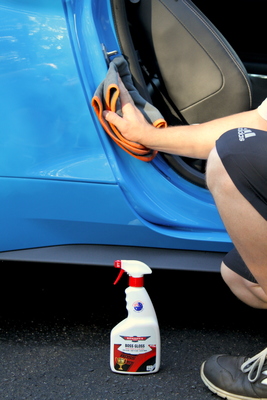
This is really handy for keeping your door jambs looking like new. After you've finished washing and then drying, take a Twisted Little Sucker or Dirty Deeds cloth and spray 4-6 sprays of Boss Gloss into the cloth. Now gently dry all areas of the door jambs, turning the cloth and adding more sprays of Boss Gloss as needed. You can also do the boot jamb and inside the fuel filler cap using this same method.
At this stage of the process, you can go around the car with a small battery powered blower to blow out all the nooks and crannies so there's less water hanging around in drip rails, between panels, in grilles etc.
Paint cleaning, to prepare for waxes and sealants
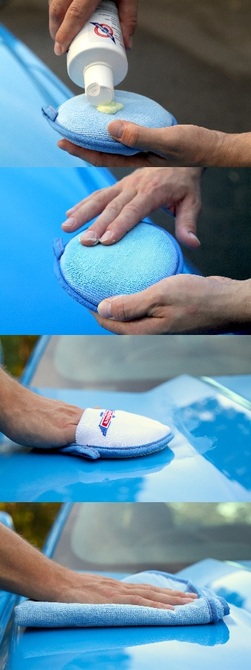
Now that the car is clean and dry, we can prepare the paint surface for the application of protection. We do this by using Paint Cleanse & Restore. Paint Cleanse & Restore is a non abrasive paint cleanser that will remove any leftover dirt or contamination on the surface of the paint to ensure you get the very best adhesion of your last step sealant product, like Bead Machine.
Place a 50c sized dollop of Paint Cleanse & Restore onto your Circle Work (blue piping) pad, then lightly massage it into the surface of the pad with your fingers. In small sections (quarter of the bonnet, half of a front guard), work the product into the paint in an up and down/side to side motion, one panel at a time. Don't use too much force, but still enough to clean the paint. Once you can see a slight haze, or the product starts to go translucent (see through), buff the excess off using your Big Softie (blue piping), folded into quarters and to the low pile side of the cloth. Then, fold and turn to the plush side and buff off any remaining residue for a brilliant shine. Continue doing this process one panel at a time, till the entire car is done, keeping in mind you will only need to add a small amount (read: pea sized), for each subsequent section of car, or just add as needed. If your Circle Work applicator pad becomes too full of product or dirt, you will need to change it out for a new one.
Almost there, the final steps!
Flash Prep
We’re now at the stage where the paint has been washed, clayed, cleansed and now we want to prep spray with our alcohol based prep spray; Flash Prep, before putting on our final sealant Bead Machine.
Flash Prep is a really simple one to use - with 2 Big Softie cloths in hand folded in quarters to the low pile, spray Flash Prep directly onto the paint surface in small sections (1/4 of a bonnet) at a time. Wipe the product in with your lead cloth - up and down, side to side, so that the product has time to work into the paint properly and remove silicones, oils etc, then give it a final buff with your second cloth. It will flash off nicely right in front of your eyes, leaving a beautifully clean surface for Bead Machine to bond onto.
Bead Machine
Bead Machine is a super hydrophobic paint sealant for use on dry surfaces. It utilises the very latest in advanced synthetic polymer technology to create a long lasting, super protective and shiny finish that's suitable for paint, glass, chrome, headlights, plastic trims and much more. The protection from Bead Machine is unmatched in our current line up, and is the most protective product we make.
Work on small sections at a time, in the shade on surfaces that are cool to the touch. Break the car up into small sections (1/4 of a bonnet for example). Grab 2 fresh, dry and clean Big Softie cloths folded to the low pile side. One of these cloths will be your application cloth, and the other will be your cloth for buffing off residue.
Step 1 -
Shake the bottle well and mist 4-6 sprays into the low-pile side of a folded, clean & dry Big Softie microfibre cloth. Wipe the product evenly over the surface in an overlapping up and down, then side to side motion.
Step 2 -
Immediately use the second clean and dry Big Softie cloth and buff off any residue. Fold and turn the cloth often for a nice, even finish.
Step 3 -
Mist 1-2 more sprays only into the application Big Softie cloth for each subsequent section, and continue the above process till the whole car is completed.
Allow at least 4 hours to cure before it can get wet for best results.
Once you've finished the whole car, put both of your cloths into a bucket like our Microfibre bucket, half filled with water and throw 10mL of Microfibre Wash in there and thrash it around to release the super hydrophobic polymer from the fibres of the cloth. Keep them wet and then put them in the machine wash together with the other microfibre cloths you've used in the process.
Exterior Plastics?
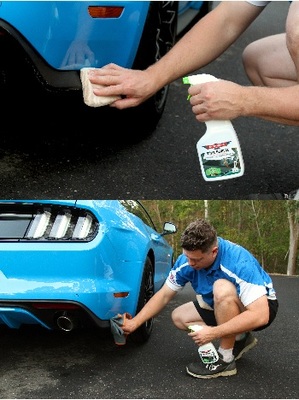
If your car has exterior plastics, now is the time to protect them with Vinyl Revival. We recommend using Orange Agent to clean the plastics first. Spray a few sprays of Orange Agent into an applicator like our Square Bear applicator pad, then gently wipe the plastic that you're going to be treating - while the product is still wet, wipe off any excess with a Dirty Deeds cloth. If the plastic is particularly dirty, you can use a brush like our Plush Brush or Palmy Brush.
With the plastic now clean and free from any silicones or other dirt residue, we need to protect them with Vinyl Revival. Using the same technique as with the Orange Agent, spray 4-5 sprays of Vinyl Revival into an applicator like our Square Bear, then wipe over the plastic back and forth to get a good, even coverage. Leave the product for around 1 minute, then wipe any excess off with a clean and dry Dirty Deeds cloth. Give the plastic another coat of Vinyl Revival for extra protection. Reapply during maintenance washes as needed.
For faded plastics, use our triim restorer; Mr Black - read more about it here.
Glass, Tyres & Wheels
We like to do these last. Interior and exterior glass can be cleaned in the same way.
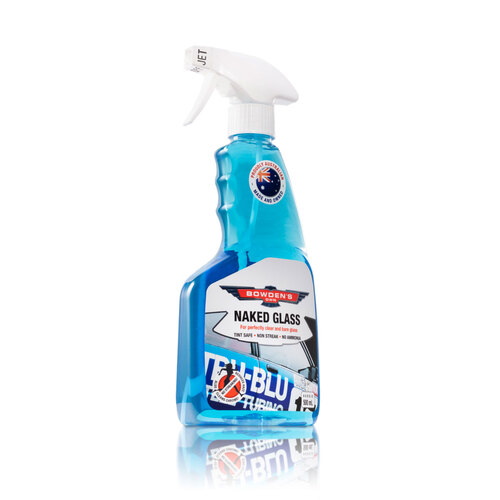
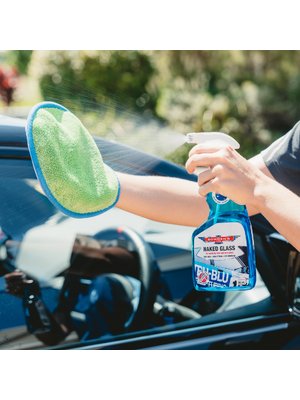
Naked Glass and an Inta-Mitt in hand, follow these simple steps for a perfect finish on your glass.
Lightly mist a couple sprays only of Naked Glass into the green side of the Inta-Mitt cloth and apply to the glass. DO NOT drench the cloth - a spray or two is always enough. Go back and forth, then up and down, ensuring good coverage.
Flip and turn to the purple side and buff off any residue for a perfect finish. If your cloth is wet from product, or you begin to notice slight streaking, you can turn the Inta-Mitt inside out and keep cleaning. It's imperative that the cloth is dry to achieve that perfect, streak free finish.
We say to spray into the Inta-Mitt and then apply so you don't get over spray everywhere, saving you time in cleaning up later. Only if the glass is really, really dirty is it a good idea to spray a little bit extra directly onto the glass.
Wheels and Tyres are lucky last. Dry the tyres first with a clean and dry Dirty Deeds cloth or a grey Twisted Little Sucker. Then, spray a few sprays of Sweet Rubber or Tyre Sheen into your All Sorts applicator then wipe over the tyre, covering all the rubber surface, getting it into the lettering on the tyres. If you like a shinier look on your tyres, you can apply a second coat after the first coat has dried.
To add some protection to your wheels, you can spray Wet Dreams on and rinse it off while the wheels are still wet like we did earlier in the wheel cleaning section, or you can apply some Bead Machine when the wheels are dry now with a Dirty Deeds cloth. This will help protect the wheels, and help brake dust come off easier next time you clean them.
TIP: If you're working in the sun, you would dry your wheels earlier in the process to avoid water spots.
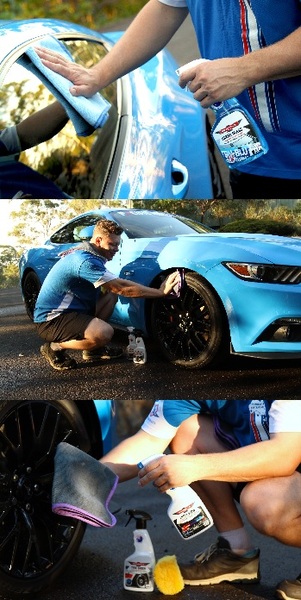
Interior clean and protection
Now it's time to turn your attention to the interior of the car.
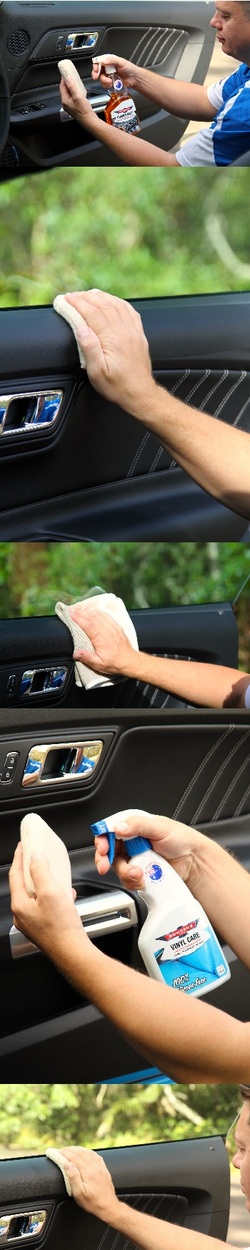
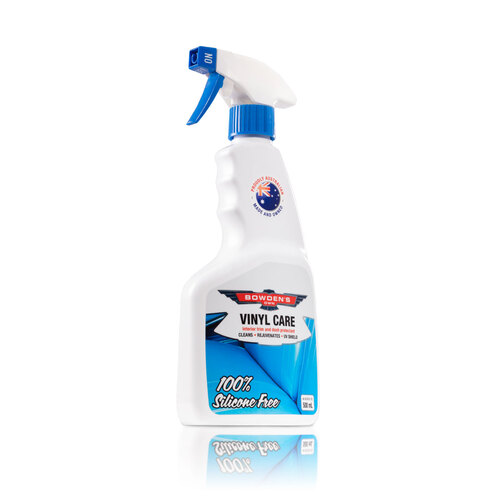
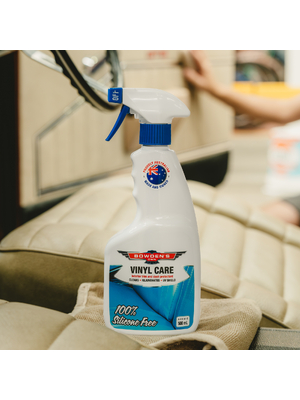
Often times when you pick up a new car, the car dealer will have applied a silicone dressing to all the plastics to make them nice and shiny for you - but, we hate shiny! Interior plastics should retain a fresh "like new" matte finish to them, in our opinion. The best way to attain this finish is with our Vinyl Care.
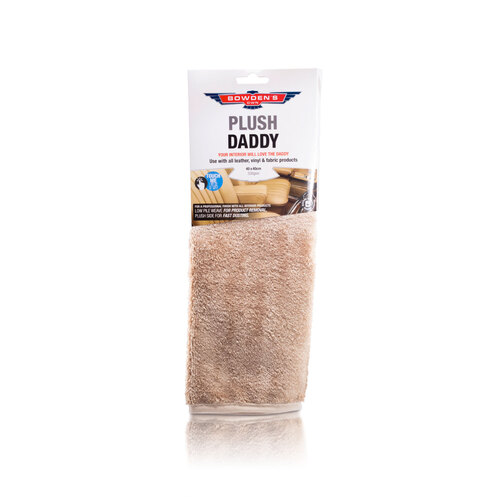
Now, if your interior hasn't been attacked with the shiny stuff, application of Vinyl Care will be enough. Spray a few sprays of Vinyl Care into a Square Bear applicator pad, then apply an even layer to the interior plastics section at a time. While the product is still wet, pull off the excess with a Plush Daddy cloth. Continue this process throughout the whole car on all plastic and vinyl surfaces.
If your interior plastics do have that shiny look to them, it's a good idea to remove the previous products used on them so you can remove that shiny look, and Vinyl Care can stick to the plastics and vinyl effectively. We do this with our versatile, pH neutral all purpose cleaner; Orange Agent.
To apply, spray Orange Agent to lightly dampen one side of a Square Bear microfibre applicator pad. Work in small sections at a time, applying in a gentle circular motion to the affected surface.
Now this is the important bit; wipe off the Orange Agent with a folded, clean, low pile microfibre cloth like our Plush Daddy while it's still wet. You remove it wet, so the embedded silicone and other grime you've cleaned off are wiped into the cloth with the cleaning solution, because if you let it dry, it will bond back onto the surface you're trying to clean. Be sure to inspect the cloth after each use and fold to a fresh, clean side when you begin seeing any dirt and grime building up in it.
If you notice the microfibre applicator getting slightly dirty, (especially when cleaning more grime affected surfaces) you can hand wash it out in fresh water, then wring it out till its dry/damp, apply Orange Agent and carry on cleaning.
Continue this method of cleaning, till all surfaces are clean.
It's important at this stage, that if you've used this method with the Orange Agent, that you come back through and apply Vinyl Care in the aforementioned manner to all the surfaces that Orange Agent was used on. Orange Agent will leave the surface clean, but it will also leave it unprotected - this is why it's so important to use Vinyl Care as your last step.
For regular quick wipe downs, use Cockpit Quicky. This versatile interior detailer is safe to use on all surfaces and will gently clean, add UV protection, help fight any bad odours and it's also anti bacterial, so it's excellent on all the frequently touched areas inside your car like stereo screens, gear shifters and steering wheels. For more info on Cockpit Quicky, click here.
Leather interiors
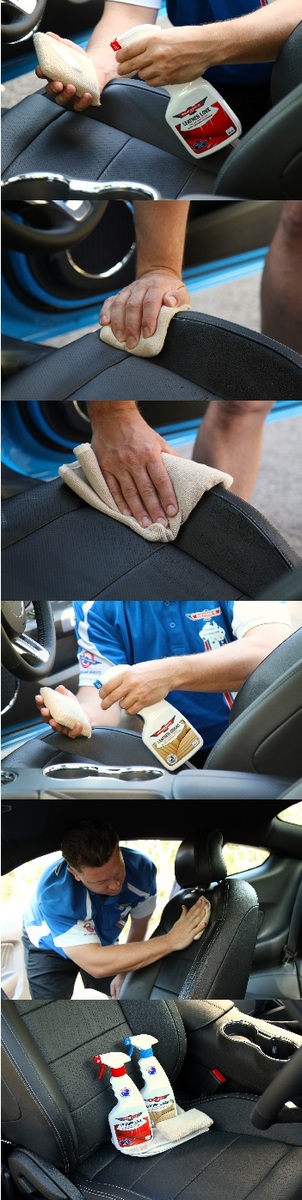
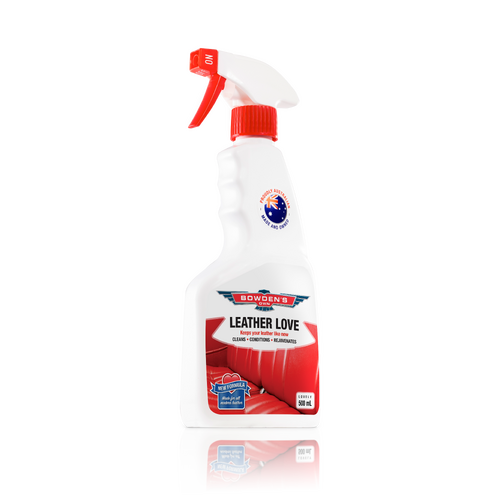
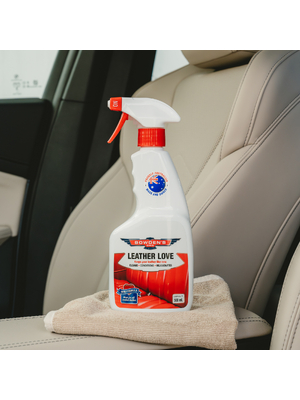
If you've got a leather interior, it's important to start off on the right foot with our leather care system; Leather Love and Leather Guard. We always recommend doing a deep clean on the seats first, to remove any silicones that may be present, then move onto the Leather Love and Leather Guard. We do this with Orange Agent. Orange Agent is a super versatile all purpose cleaner that's perfect for deep cleaning modern, PU coated leather.
The first thing to do is to vacuum up any bigger bits of dirt and other debris. The process is just like that for cleaning all the interior plastic trims: apply Orange Agent to an applicator like our Square Bear, then work the product into the leather back and forth, even little circles if you want so that you don't miss any surfaces. With the product still wet, wipe off the residue with a clean Plush Daddy cloth. Continue this technique for the remainder of the leather seats. Don't push hard here - we're just allowing the product to do all the work and break down any surface dirts, oils, silicones etc.
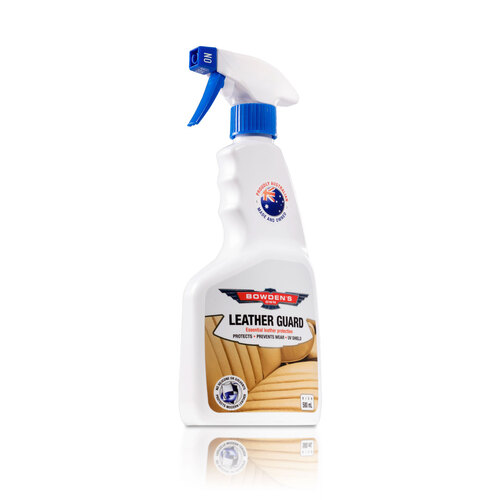
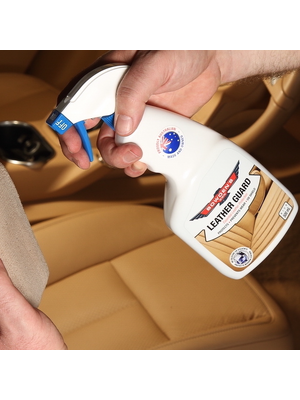
Next, grab your Leather Love and a Square Bear applicator, and apply the product the same way you did for the Orange Agent - wipe the product in generously over a section at a time, then with the product still wet, wipe off any excess with a clean Plush Daddy cloth. Once all of the leather has been done in this manner, use the exact same technique to apply the Leather Guard. You can apply the Leather Guard to all of the seats this time, allow it to soak in, then wipe off any excess after a few minutes. Now your brand new leather is clean from dirt and silicones and protected from wear and tear.
If you want to save some time and clean larger areas at a time, you can use the Palmy Brush to get a really nice lather up with the Leather Love and clean more quickly and easily.
We recommend to re-apply Leather Love every 1-2 months in the hotter climates and apply Leather Guard every 3rd time you apply Leather Love. Being water based and silicone free, you can't over-do it, so if you want to clean your leather more often, you can.
Interior glass and stereo screens
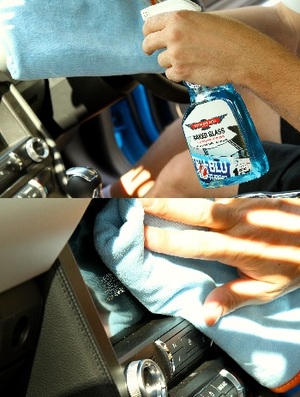
For all your internal glass, including the inside of the front windscreen, use Naked Glass on an Inta-Mitt cloth. Same procedure as for the exterior glass; 2 sprays of Naked Glass onto the green side of the Inta-Mitt, then gently wipe the glass until it's clean. Once clean, flip to the purple side and buff off any remaining residue for a lovely, streak free finish.
Cleaning these areas couldn't be easier. All you need is Cockpit Quicky and a Big Softie microfibre cloth. You can use 2 cloths if the sections are particularly dirty.
Instrument Binnacle:
Fold a Big Softie cloth into quarters to the non plush side. Spray a few sprays of Cockpit Quicky into your cloth and then gently wipe over the instrument binnacle, being sure not to use any pressure, to avoid causing any scratches to the plastic. Flip your cloth to a clean and dry side and give it a final wipe, again using no pressure, to remove any remaining residue.
Touch Screens:
Same application method for this one. Fold your Big Softie cloth into quarters to the non plush side. Spray several sprays of Cockpit Quicky into your cloth and then gently wipe over the screen, being sure not to use any pressure, to avoid causing any scratches to the screen (don't stress if you get any Cockpit Quicky on the buttons surrounding the screen - it won't damage them). Flip your cloth to a clean and dry side and give it a final wipe, again using no pressure, to remove any remaining residue.
You can use Cockpit Quicky on these areas as often as you like, so clean them as needed. Just be sure to wash your Big Softie cloth with some Microfibre Wash after each use.
Looking after your microfibre cloths
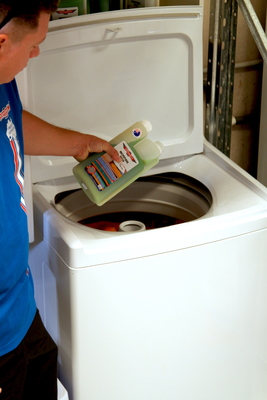
One of the most important jobs of the entire detail is making sure you clean your microfibre cloths properly. Look after your cloths, and they'll look after you for years to come. Our Microfibre Wash was made specifically to clean waxes, polishes and cleaning products from microfibre cloths. It won't work for your clothes to remove tomato sauce stains, but it'll keep your microfibre cloths like new.
Before you begin washing all your cloths, give the applicator pads (Circle Work pads) you have used for the wax and cleanser a quick pre-wash. These pads are about the hardest things to really clean right, as the build up of product gets deep into the pad and keeps increasing over time. Our Microfibre Wash completely cleans these fibres and removes all this residue, bringing them back like new every single wash.
Straight after use, put them into a bucket or wash sink with a couple litres of warm water. After an initial soak of a minute, lightly pour about 10 mLs of Microfibre Wash into each damp pad, rub it all over the surface till suds appear. I usually rub the two circle work pads together, just for 30 seconds or so, so the wash gets right in there.
Rinse clean with fresh water and then add them with the rest of the cloths to the washing machine.
Add 20-60mL of Microfibre Wash to your machine (depending on how many cloths you're washing), and put the machine on a normal wash cycle with warm water. DO NOT ADD FABRIC SOFTENER.
Once the cloths have been washed, pop them in the dryer on the cool/warm setting for around 45 minutes, or until they come back nice and fluffy. Once the cloths are dry, pack them away in a sealable container, ready for their next use!
For a more detailed explanation of this process, please see our dedicated caring for microfibre guide here.
What now? Regular maintenance
So you've completed all of the steps above - but now what? What do you do for regular maintenance and how do you look after your car on a week to week basis?
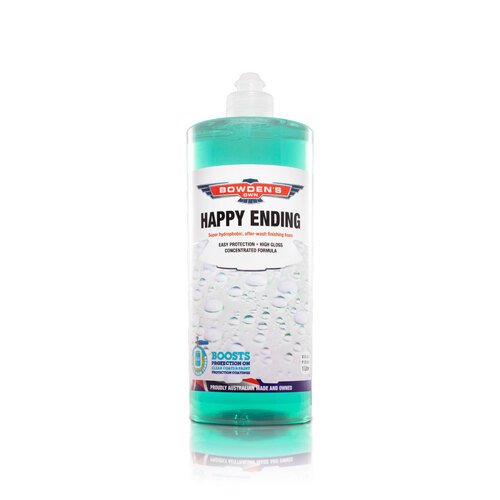
We recommend to wash your car weekly. Start with the Snow Job and then move onto the 3 bucket wash method with your favourite wash tool and wash soap (we love the Shagtastic Wash Pad and Nanolicous Wash). If your car could do with a boost in shine or protection, this is a good time to use our super hydrophobic finishing foam; Happy Ending, or if you don't have a pressure washer, our spray on, rinse off ceramic sealant; Wet Dreams.
Happy Ending and Wet Dreams were made to quickly give a visible boost of protection to the car at the end of the wash, as well as creating a super high gloss and slippery smooth finish. All this happens from simply spraying it on, and then pressure washing it off, to leave a super hydrophobic coating, before drying the car as you do in a normal wash.
Now it's time to dry with your favourite combination of either Boss Gloss on one of our super plush and safe drying towels like the Twisted Pro Sucker, or with After Glow and the 2 Big Softie cloths. If you use Happy Ending to coat the vehicle at the end of your wash, there's no need to go over it with any other waxes or sealants. Reapply Bead Machine as you need or want to - it's safe to use as often as you like.
You should use the Claying Rubber/Clay Bar, Three way and Paint Cleanse & Restore once or twice a year, or as needed depending on where your car is parked regularly and the condition of the paint.
Wheels, tyres and glass get done at every wash.
For heaps more info on what products to use when and in what order, check out our Flow Chart Guides.
There are downloadable Flow Charts there that you can print out and stick up on the wall in your garage as a quick reference guide.
Any questions?
All the products in this article can be found in our stockists throughout Australia. Find a link at the very bottom of the webpage to locate your closest one, click here.
If you have any questions, please email me at info@bowdensown.com.au or call our office on 1800 351 308.
Happy detailing!
Brett Hobbs

Products Used
Vinyl Care
Unique rejuvenating, silicone free dash and trim protectant, that's not greasy or slippery.
$26.99
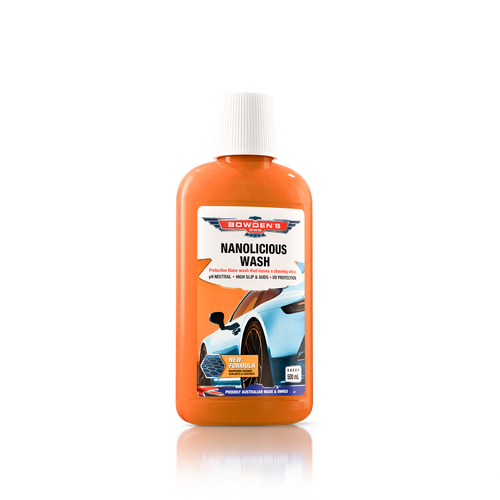
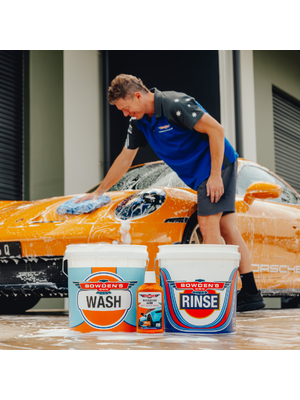
Nanolicious Wash
Our dream wash just got dreamier! New formula created for the very fussiest of fanatics.
$24.99
Wheely Clean
Our latest version of Wheely Clean that works better, goes further and no longer stinks!
$28.99

Twisted Little Suckers
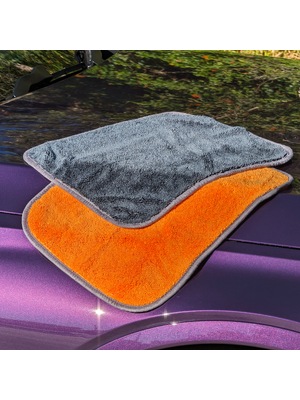
Handy-sized, twist-loop mini-drying towels for intricate & fiddly areas or smaller vehicles & bikes
$28.99
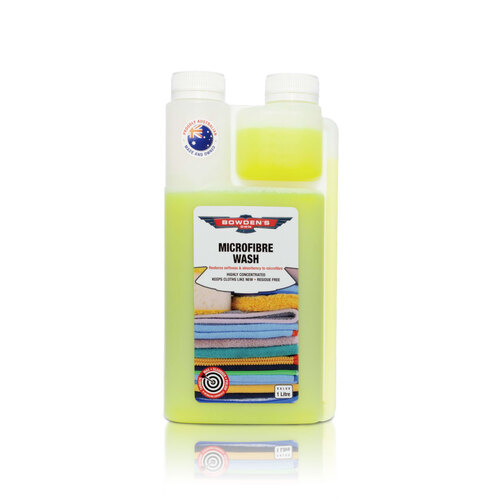
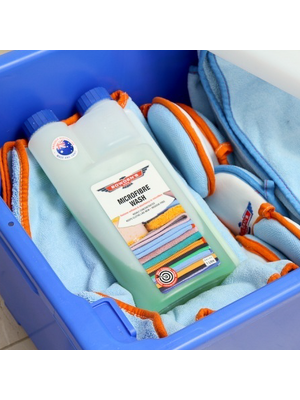
Microfibre Wash
Keep your microfibre like new. Our specialised wash restores softness and absorbency to all your cloths.
$26.99
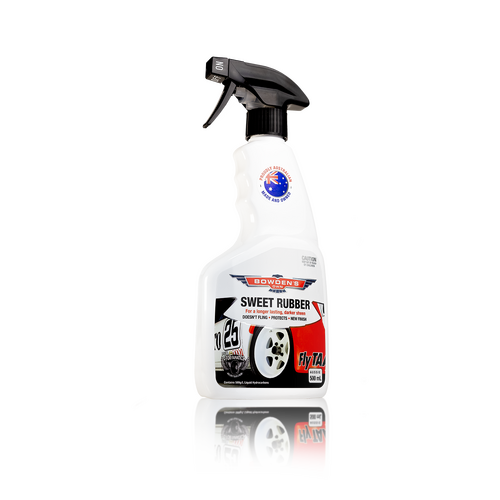
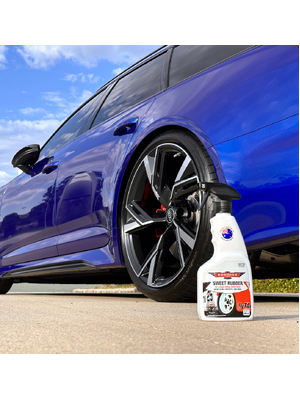
Sweet Rubber
Give your tyres a darker, durable, mid sheen finish that's also incredibly hydrophobic.
$27.99
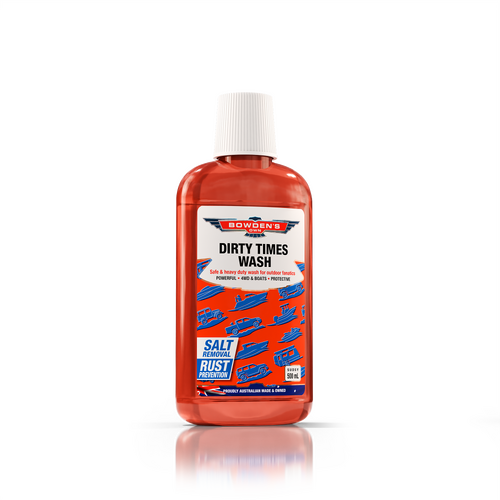
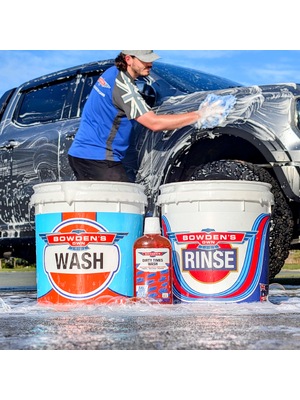
Dirty Times 4WD Wash
Our most powerful and protective wash, for 4WD's, boats and outdoor fanatics.
$24.99
Plush Daddy
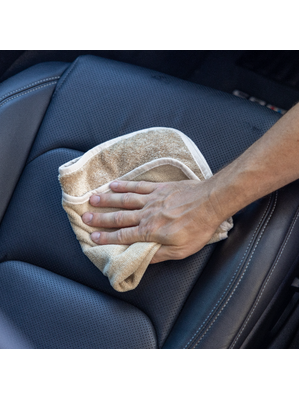
Dual sided, versatile, super soft microfibre cloth for interior cleaning. You will love the Daddy.
$17.99
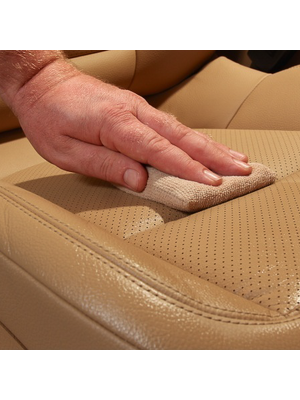
The Square Bear
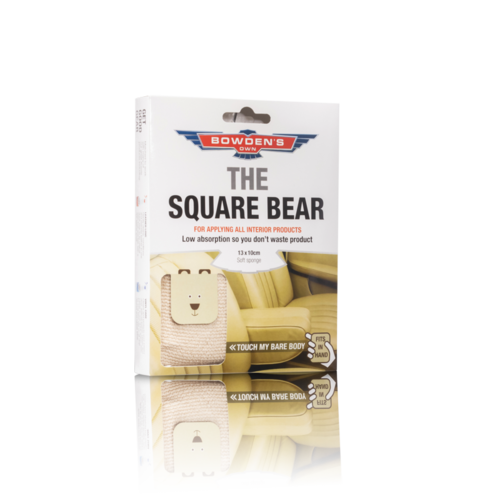
For perfect application of all interior products. Low absorption material so you don't lose all your product.
$13.99
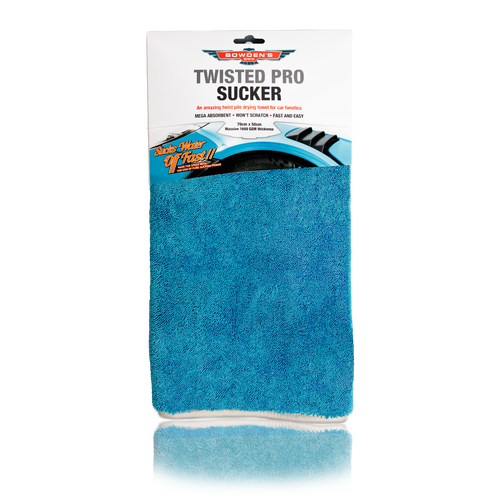
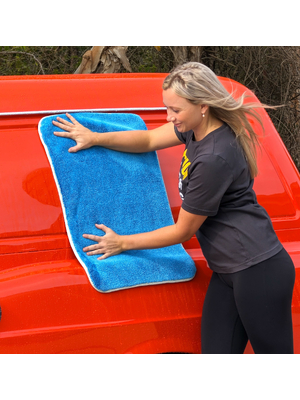
Twisted Pro Sucker
A great-sized, super absorbent, twist loop microfibre towel - for the fastest drying experience.
$51.99